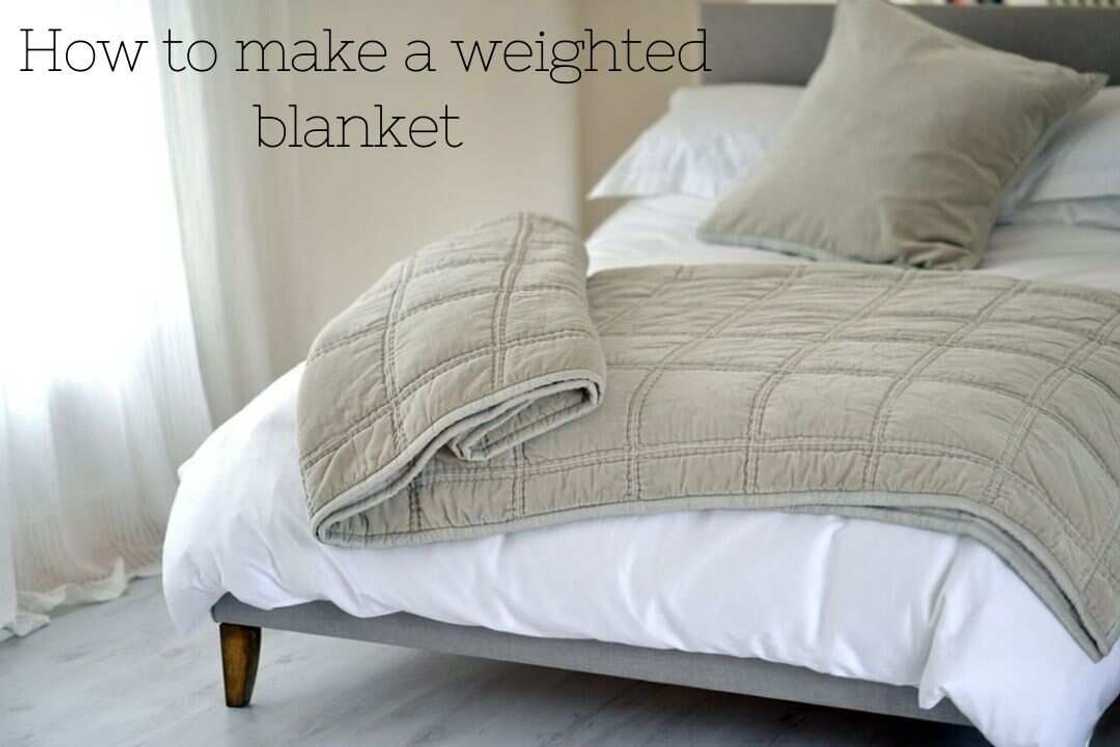
How to make a weighted blanket: A DIY tutorial
Weighted blankets/duvets come with numerous proven advantages, and maybe this is why you are wondering how to make a weighted blanket instead of purchasing one. It is not rocket science, and this guide will help you master the art.

Source: UGC
So, can you learn how to make weighted blanket and save a significant amount of money you could have spent on purchasing a brand new one? You can opt to make your own weighted blanket which is as good as a new one from a shop.
How to make a weighted blanket: What to consider
Contrary to what many people think, making a weighted blanket is not a cumbersome task. As long as you have the requirements, in a few simple weighted blanket DIY steps, you will have your cosy duvet.
Determining the right size
What is the right size of a weighted blanket? This is a bothersome question for people who want to make their own blankets. Many people assume that the measurements of the bed determine the ideal size, but that is quite misleading. You have to bear in mind whoever will use the duvet when determining its size, and it does not matter how big the bed is.
A recommendable guide for the dimension of the blanket is 'chin to heel'. An oversized piece is not only a waste of material, but it can shift pressure away from the body.
For people experiencing insomnia, the most appropriate length of the duvet should be from chin to heel. Conditions such as ADHD or Restless Leg Syndrome would require a duvet that covers either the top or lower part of the body. For such a blanket, measure the usual size of the chin to heel and then divide the length by two.
How heavy should my weighted blanket be?
There is no fixed standard measure on how heavy should a weighted blanket be. However, as a guide, the recommended heaviness of the duvet should equal 10% of an individual’s body weight and then provide an allowance of an additional pound or remove a pound.
People have their own preferences of what is comfy for them, and that is why it is advisable to start with the recommended heaviness and later adjust it accordingly depending on your experience.
Weighted blanket filling material
For a long time, weighted duvets were made using plastic polypropylene pellets as filling material, but today, there are innovative options for filling the duvets. If you have been wondering how to make a weighted blanket without pellets, then you will be glad to learn about the alternatives available.
- Micro glass beads - the glass beads are smaller compared to the plastic pellets, and some manufacturers highly prefer them because they facilitate even weight distribution. They are not easy to come by, and if you find them, you will realize that they are more expensive than other options.
- Dried grains such as beans or aquarium stone - If you are on a shoestring budget, then these filling materials are the most preferable. They are readily available near you, and if you must purchase them, you will part with little money compared to buying plastic pellets or glass beads.
However, they are not machine washable. Also, after a considerable period of using the duvet, the grains might rot and stain the fabric.
Step-by-step guide on how to make a DIY weighted blanket

Source: UGC
You should have:
- Fabric for the front and back parts
- Weighted filling material such as aquarium stones, grains or beads
- Weighing scale
- Sewing machine
- Ruler
- Pins
- Batting
- Thread - choose a thread color that blends nicely with the fabric
- A pair of scissors
In this case, we will make a weighted duvet for a person who weighs 60kgs. Therefore, we will require 10% filling material equivalent to 6kgs. However, you can purchase filling material slightly over 6kgs to compensate for the filling material that may spill and disappear during the process. Use the following steps:
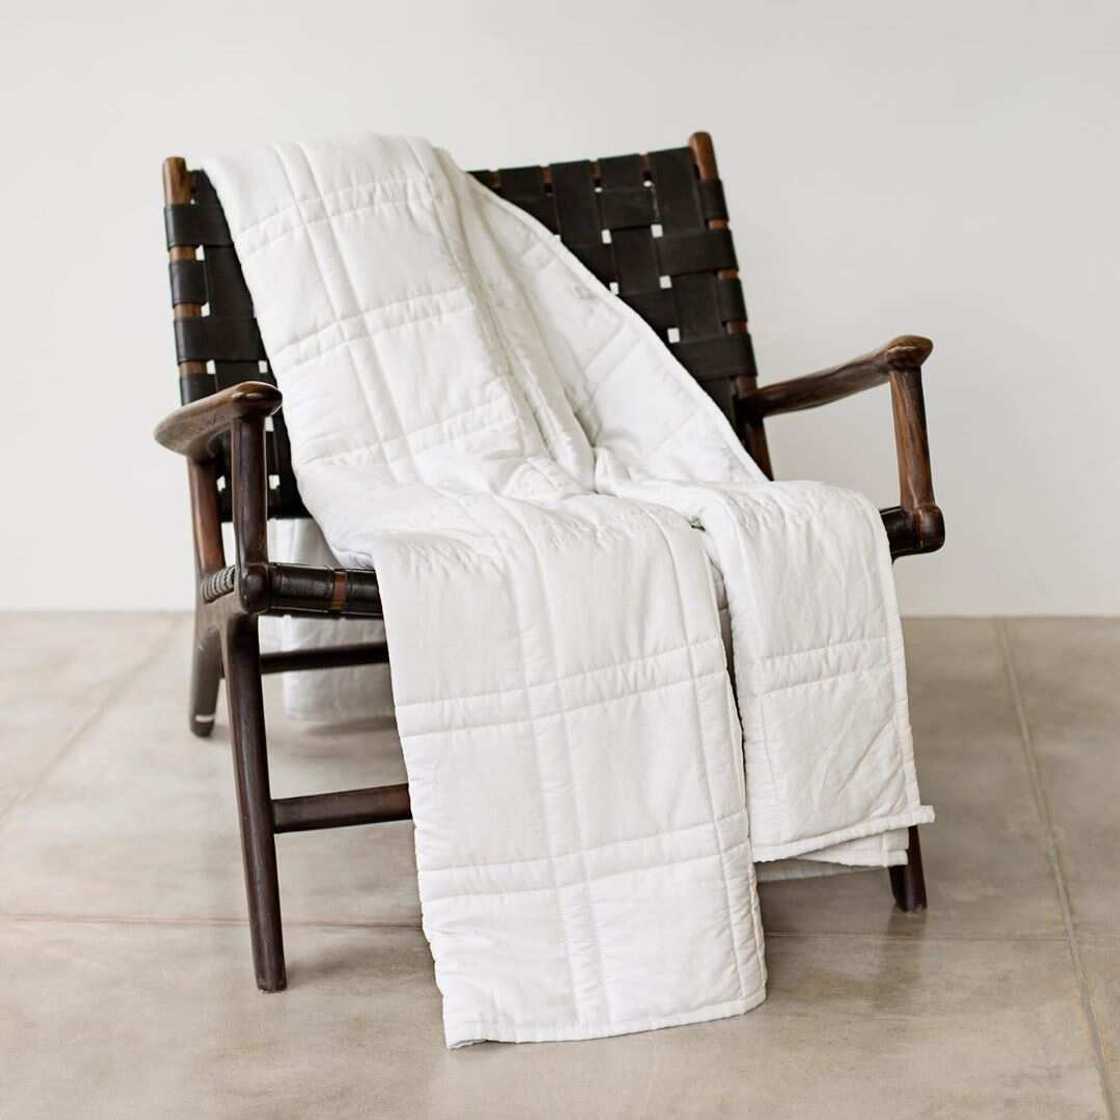
- Measure and cut 58 inches and 26 inches on the fabric to be the length and width, respectively. Make two sheets with the same dimensions. Stack the two fabric sheets on top of each other and using pins, attach them up at the corners.
- With the help of batting, line up the blankets on either side. Remember to leave a margin of approximately an inch.
- Sew three sides of the blanket. It is advisable to leave one of the widths open. Then, turn it inside out.
- Sew lines from bottom to top of the duvet but do not seal the open end. The number of lines you will have largely depends on the number of squares you want. For instance, if you're going to have 16 squares, then you will make three lines resulting in 4 columns.
- Divide the weight of the filling material by the number of squares to get the weight of filling material in each square. In this case, divide 6kgs by 16 squares resulting in 0.375kgs per square. Measure the weight of filling material per square using the weighing scale and pour it in each column. Lift the blanket so that all the filling material drops at the bottom. Pin the first row, making a row of squares and then sew.
- You will repeat step 5 so that all the squares are filled with the filling material and sewn up.
- Sew up the edges of the blanket, and then it is ready for use.
Weighted blankets for kids

Source: UGC
A kids weighted blanket should be lighter than the recommended 10% of the body mass. However, these types of duvets are not recommended for children below two years. For children and adults who have special needs and conditions such as autism, you should consult an occupational therapist to guide on the best heaviness of the duvet.
In a nutshell, how much weight should be in a weighted blanket depends on the body weight, personal preferences, and health condition of the user.
Now, if you needed to know how to make a weighted blanket, then you have some clues about how to go about it. The procedure is straightforward, and the materials are readily available.
Source: Legit.ng


