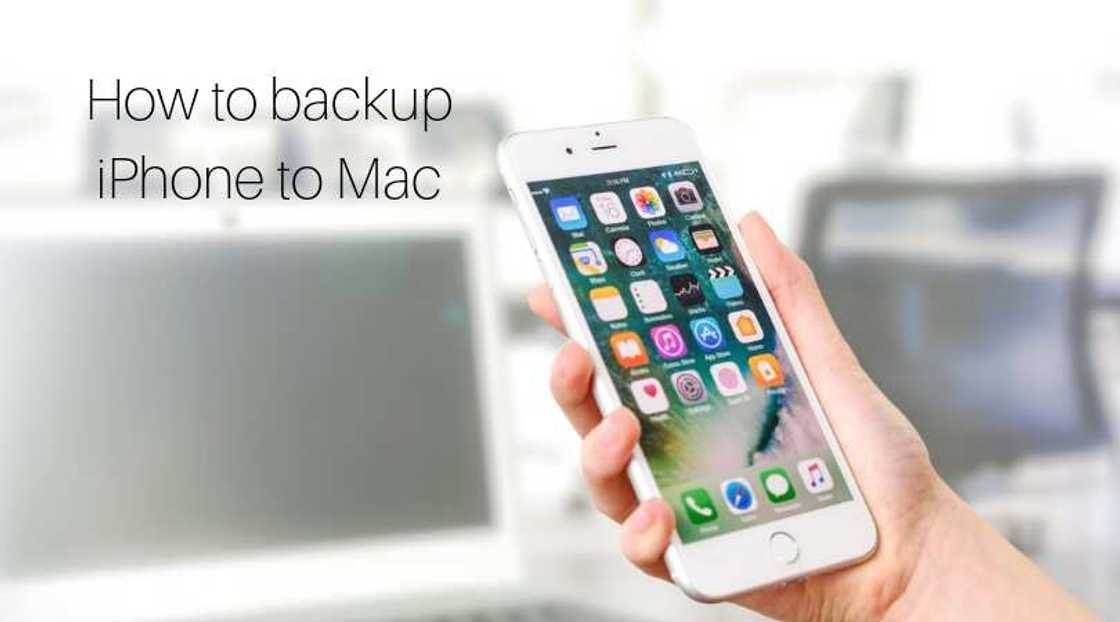
How to backup iPhone to Mac: the best ways
In this modern era of digital progression, we keep so much information on our smartphones, so much that losing this information spells disaster. The good news is that it has become so easy to back up all the essential information and retrieve it in case the worst ever happens. For Apple users, it is vital to learn how to backup iPhone to Mac through various secure methods.
Source: UGC
When considering backup options for your iPhone, you will come across three main ones. These include iTunes, iCloud and third-party applications. Each method has its pros and cons, but all help you keep a copy of files safely from your mobile device. Let us look at each backup option in detail and help you choose the one that is most suitable for you.
Simple iPhone backup methods
You have the option to back up your phone wirelessly or via a sync cable. Once you figure whether you will be using a cable or wireless network, then you can choose from the following solutions:
- Back up iPhone on iTunes (wireless or cabled)
- Back up using iCloud
- Back up using third-party software
Source: UGC
How do I backup my iPhone to Mac without USB?
The first backup method lets you back up your iPhone to your Mac without the need for a USB sync cable. This is through the use of the iTunes wireless functionality. Here is a simple step by step guide to making a copy of your files through this software via a network.
How to back up iPhone via iTunes
- Go to Settings
- Select General > iTunes > Wi-Fi Sync
- Select your Mac from the list
You will notice an option to ‘Sync Now’. Keep in mind that by default, your iPhone will begin to sync automatically if the screen is locked, connected to a Wi-Fi network and connected to a power source. The iTunes backup stores the backup files on your computer and thus storage will depend on the available space on your Mac. You also get an option to encrypt your backup files. This is usually turned off by default.
How do I backup iPhone to Mac wirelessly?
While the iTunes backup option is very convenient, it has several drawbacks such as space limitation. Another popular backup option is iCloud, Apple’s excellent cloud storage solution. With iCloud, you are limited to a maximum of two terabytes of storage, which is probably more than enough for the average user. The first five gigabytes are given free to iCloud users. You have to pay for extra storage above this. All files backed up to Apple’s cloud are always encrypted and can be restored via Wi-Fi networks.
One of the most significant advantages of using iCloud is flexibility. You can back up your device anywhere as long as you have access to a Wi-Fi connection. You can store a wide range of settings and data files using this method. Keep in mind that you will not be able to back up any information that is already backed up in a different cloud service. These include:
- All information already stored in iCloud such as voice memos, contacts, iMessages and calendars
- Exchange mail and Gmail information
- Information related to Apple Pay
- Apple Mail information
How to backup my iPhone via iCloud
You need to make sure that your device is connected to a Wi-Fi network. Once this is done, follow these steps:
- Navigate to the Settings tab
- Choose [Your Name] and select iCloud
- Choose iCloud backup
Select backup Now and the process should begin automatically. Make sure that the device stays connected to the Wi-Fi network until the process is complete. Users also have the option to automatically backup their device every day. To set up your mobile device for this, follow these simple steps:
- Ensure that the iCloud backup option is turned on
- Connect your iPhone to a Wi-Fi network
- Turn off the display
- Connect the device to a power source

Source: UGC
The device will automatically perform a backup to iCloud. You will need to ensure that you have sufficient cloud storage for the files you need to back up. Storage plans begin at $0.99 per month for fifty gigabytes.
READ ALSO: iTunes not recognizing iPhone issue resolved
How to backup iPhone to Mac without iTunes?
You can back up your mobile device to a computer through third-party applications. While using the official Apple methods is the safest bet, some third-party apps can be quite handy. Most of them are relatively straightforward. You will need to have your phone’s sync cable with you to use most third-party apps.
How to backup my iPhone using third-party apps
The procedure involves connecting your smartphone to your Mac, selecting the files to back up and copying these manually to your computer. Once the process is complete, a copy of your data will be available on your Mac. However, since these are not official Apple programs, you will be limited in terms of the file types you can successfully back up.
READ ALSO: All uses of iTunes gift card
How to backup iPhone to Mac without iCloud
Apple’s iCloud makes it quite easy to back up your smartphone via Wi-Fi. However, you might need to back up your device without access to a Wi-Fi connection. In this case, the best method is to use iTunes through your phone’s sync cable. Follow these steps to perform the backup:
- Ensure that your Mac is updated to the latest iTunes version
- Open the iTunes program on your computer
- Connect the iPhone using the sync cable
- Follow the on-screen prompts to trust the connected computer
- Check the Encrypt iPhone Backup box on the computer if you wish to encrypt the files
- Select your iPhone when it appears on the iTunes page
- Click Backup Now
Once the process is complete, you will see the latest backup complete with the date and time of backup.

Source: UGC
Learning how to backup iPhone to Mac is quite easy in this day and age. The various options available cater to the needs of different Apple users. One can choose from among the sync cable and wireless options depending on factors such as storage, convenience and availability of Wi-Fi networks. Which method seems best-suited to your needs?
DISCLAIMER: This article is intended for general informational purposes only and does not address individual circumstances. It is not a substitute for professional advice or help and should not be relied on to make decisions of any kind. Any action you take upon the information presented in this article is strictly at your own risk and responsibility!
READ ALSO: How to update iTunes: all of your questions answered
Source: Legit.ng


