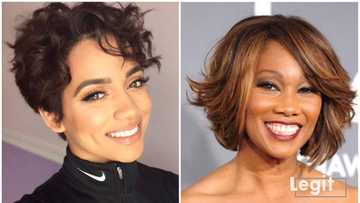
How to style short natural hair after washing
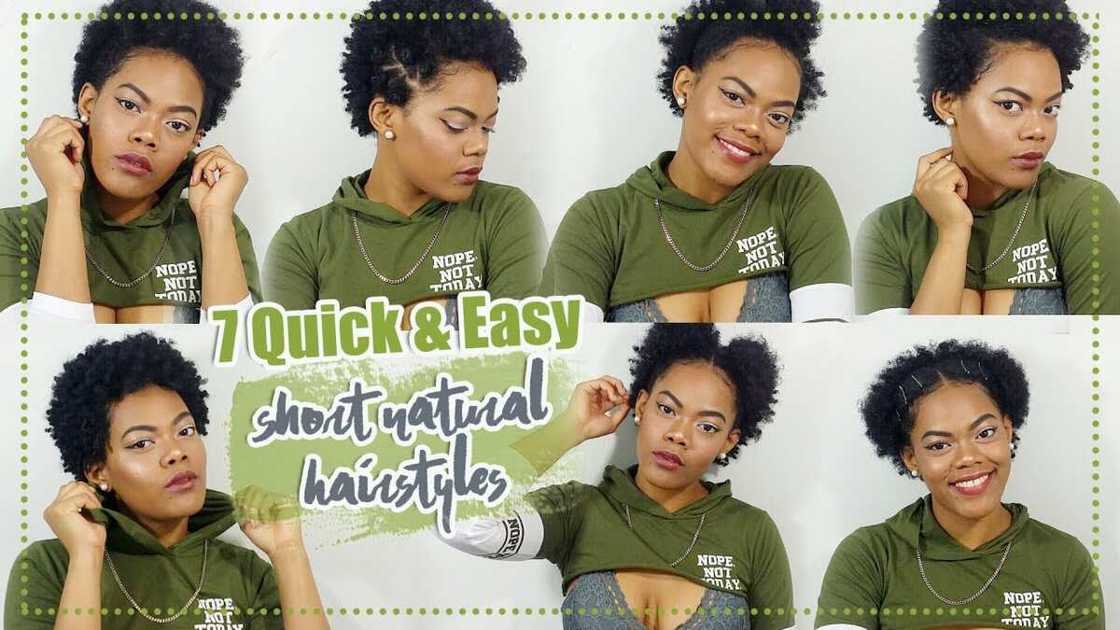
For all those people who have been looking for tutorials on how to style short natural hair after washing, we have prepared a little treat. Check out seven simple wash & go short hairstyles that are very easy to master. With these hairdos, you will become twice as beautiful with half the effort!
Source: UGC
Photo: youtube.com
As far as short natural hairstyles go, it seems like there are not that many in existence. When we search for them, we usually end up with hairstyles that are more appropriate for someone with shoulder-length hair and not a teeny weeny afro. For this reason, we have decided to compile a list of seven cute hairdos you can go for if you do not have that much hair to work with. So go do your wash & go routine and return here for some simple tutorials!
Afro
Source: UGC
Photo: youtube.com
READ ALSO: Big twist braids hairstyles for real fashionistas
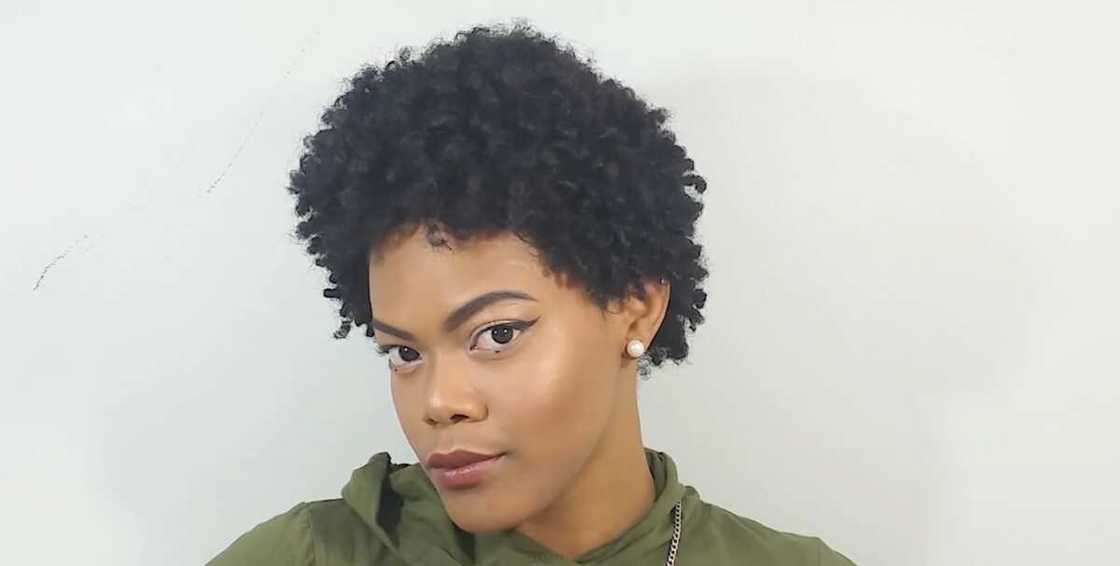
This is a classic wash & go short natural hair styling, and you probably already know how it works, but let’s talk about it nonetheless. For this hairstyle, all you need to do is go through your regular wash & go routine, then curl your hair the way you like it most (twists, coils, braids, you name it), and when it is curled to your liking, grab the wide-tooth three-prong comb and add a little fluff to it. That is it! You are ready to go.
Short natural hair with a side part
Source: UGC
Photo: youtube.com
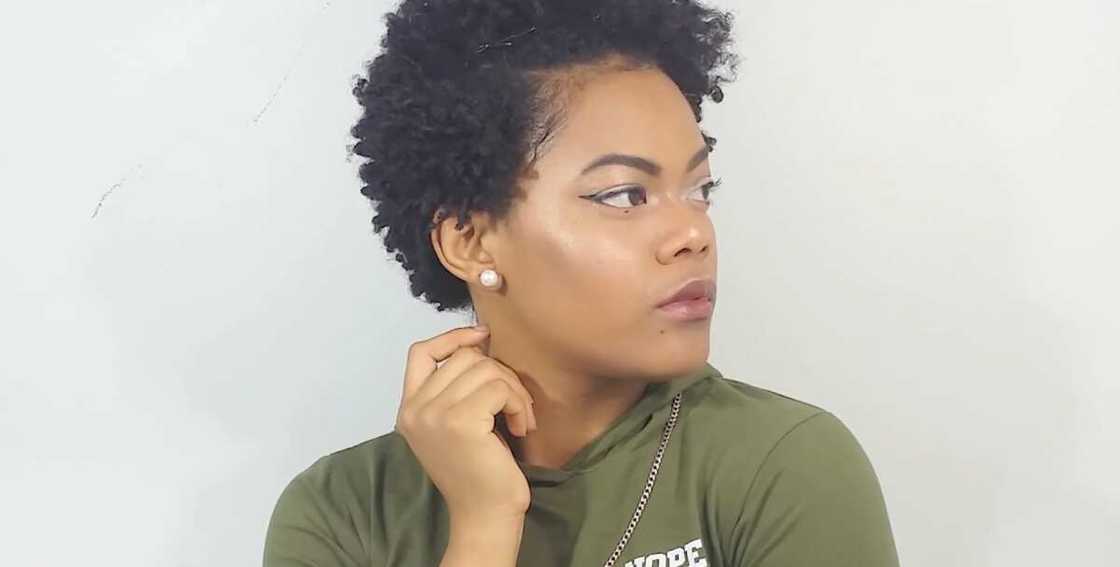
This hairstyle is really easy to achieve, so even if you have barely any idea on how to style natural hair, especially when it is in its awkward stages, this ‘do should do you wonders.
To achieve this look, you are going to need a toothbrush, some hair gel and a few bobby pins. Use the toothbrush and hair gel to lay down the baby hairs. After that, decide where you want to part your TWA and use the bobby pins to pin the hair on either side of the part. Use a wide-toothed comb to fluff up your ‘fro, and you are good to go!
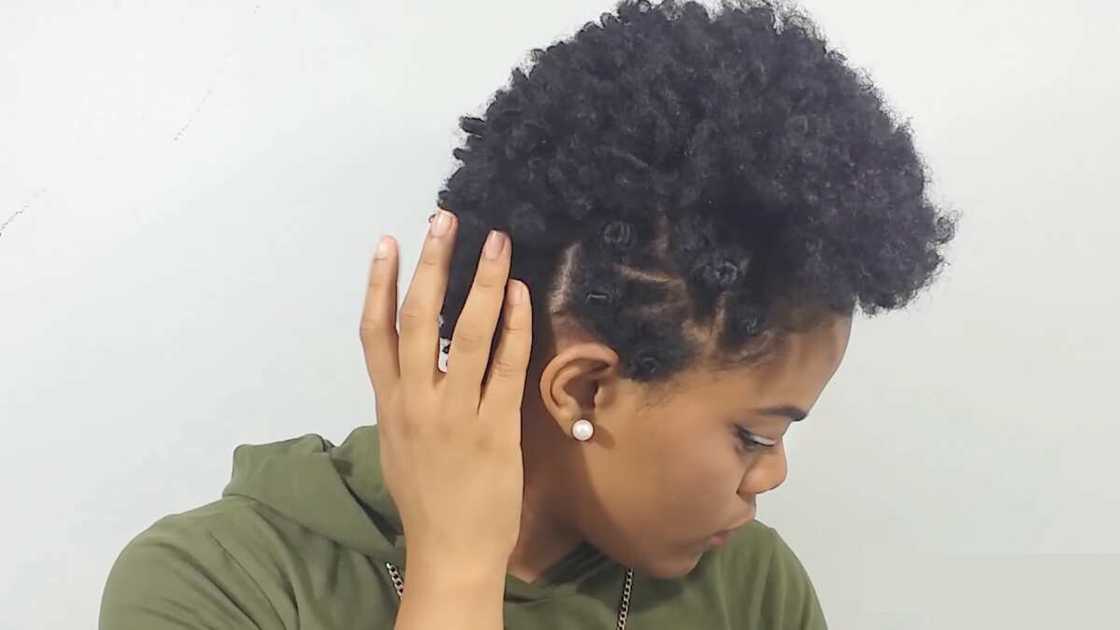
One-sided bantu knots
Source: UGC
Photo: youtube.com
READ ALSO: Afro twist braid hairstyles
Bantu knots are great, but they are so ridiculously time consuming, and your hair needs to be long enough to tie them, which does not make them an ideal hairstyle for people with TWAs. However, you can still create a look featuring them and spice up your hair a little.
For this, you are going to need some big hairclips to keep some of the hair away, a hairbrush with a pointy end to section out your hair, and you can also get a toothbrush with some hair gel to lay down the edges. It is important that your hair is moist for this hairstyle.
Use the hairclips to pin the hair you are not going to be tying in knots. With the pointy end of the hairbrush, section out some hair and twist it into a knot. Repeat the process as many times as you want until you achieve the desired result of several bantu knots on your temple.
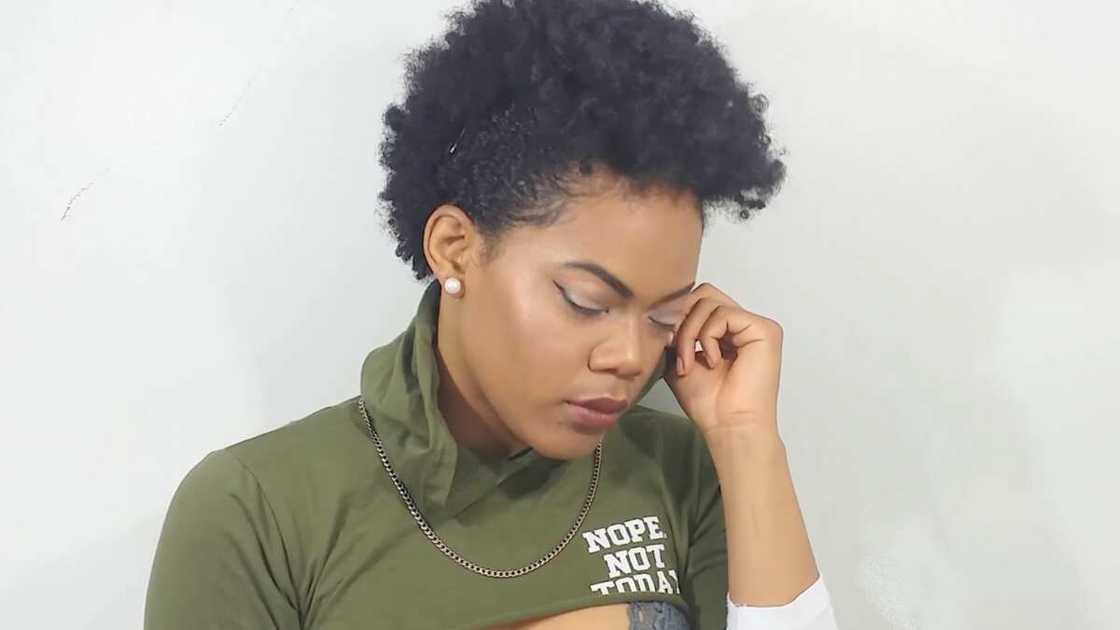
Afro mohawk
Source: UGC
Photo: youtube.com
Now, this hairstyle is for those who are not afraid of getting a lot of hair gel in their hair, as the whole thing is basically held together by just that. As you might have guessed, you are going to need hair gel, a wide-tooth comb, a hairbrush, some hairclips and bobby pins. Your hair should be slightly moist for this.
Start by dividing your hair into three sections with a comb. You should end up with a wide middle section and symmetrical sections on the temples (use your brow arch as your guideline for partings). Pin the middle section up with the hairclips, so that it is out of your way.
Brush the sections on the sides back (spray them with some water if necessary) and apply the gel. Brush the hair backwards as far as you want it to go and pin it at the back with pins. Take the hairclips out and use the wide-tooth comb to fluff up the middle section of your hair. Lay the baby hairs with some more gel if necessary.
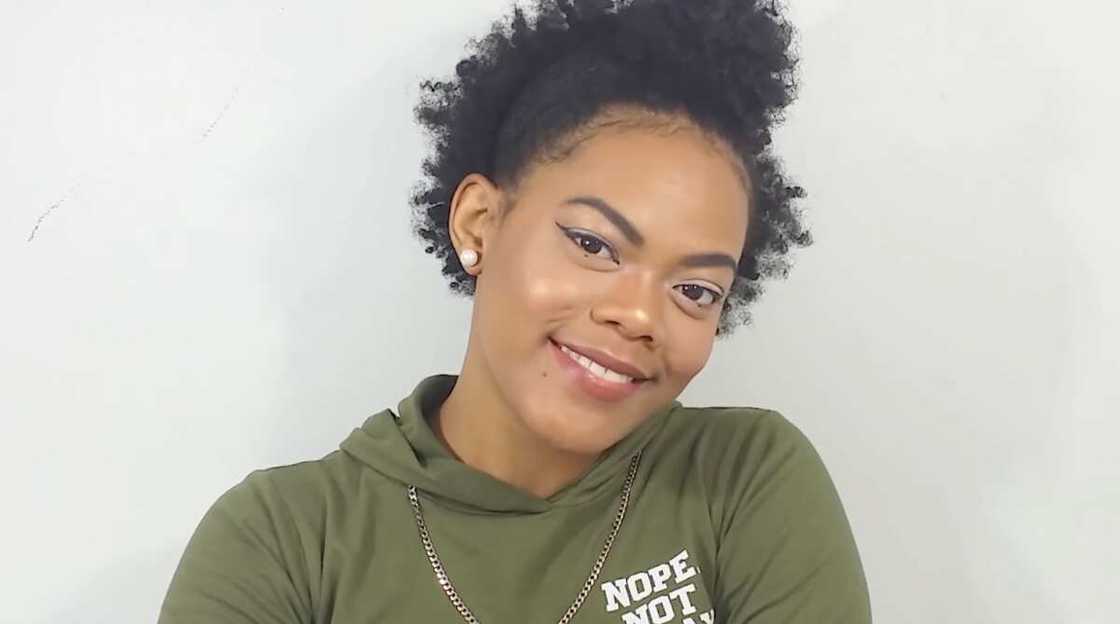
Half up, half down
Source: UGC
Photo: youtube.com
READ ALSO: Center part hairstyles with bangs
You might think that this hairstyle is only for people with (moderately) long hair, but that is not true. You can achieve this look even if you do not have too much hair to work with. For this hairstyle, you will need the usual: hairclips, hair gel, comb and hairbrush, and you will also need a hair tie or two. Make sure your hair is moist or keep a spray bottle on hand.
Start by sectioning out the front of your hair with a comb and pinning the rest of the hair down with hairclips. Take the hair from the front section, spray it with water if necessary, add some gel and create a top knot/ponytail (depending on how long your hair is) by methodically brushing the hair towards the middle of your head, smoothing it out and catching flyaways. When the knot is done, remove the hairclips and fluff up the hair in the back to finish the look.
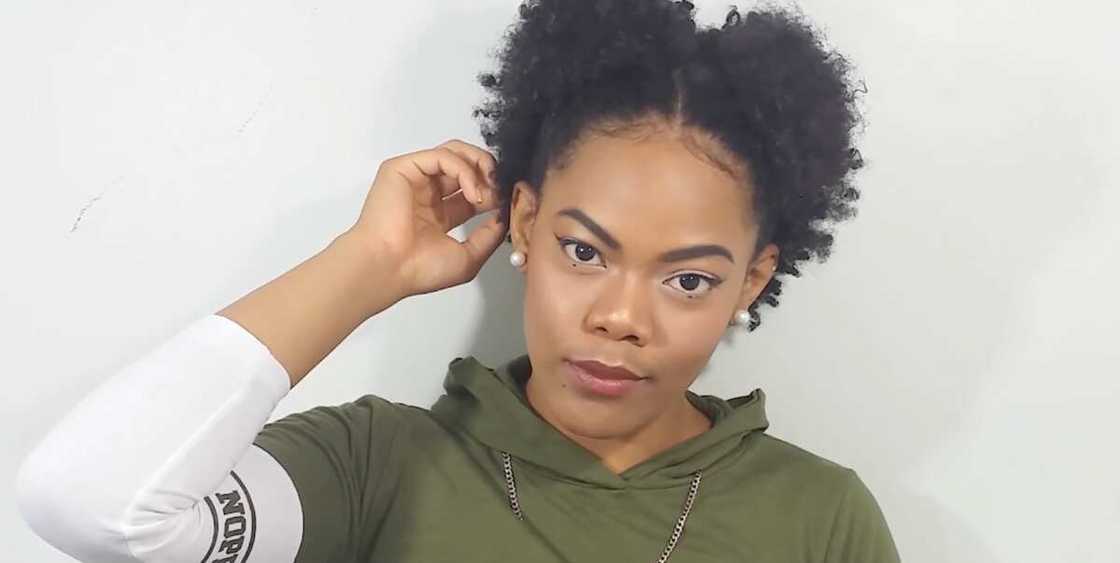
Double top knots
Source: UGC
Photo: youtube.com
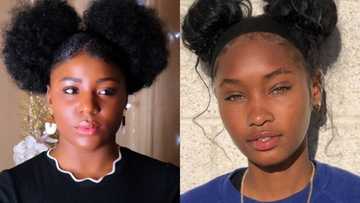
This hairstyle is really similar to the previous one, only it is even cuter, and it easier to achieve if you struggle with getting all of your hair in just one knot/ponytail. The process is similar to the previous one, only you need to divide your front section in two and work from there. Once again, you can do ponytails or knots, depending on what you want and what your hair allows you to do.
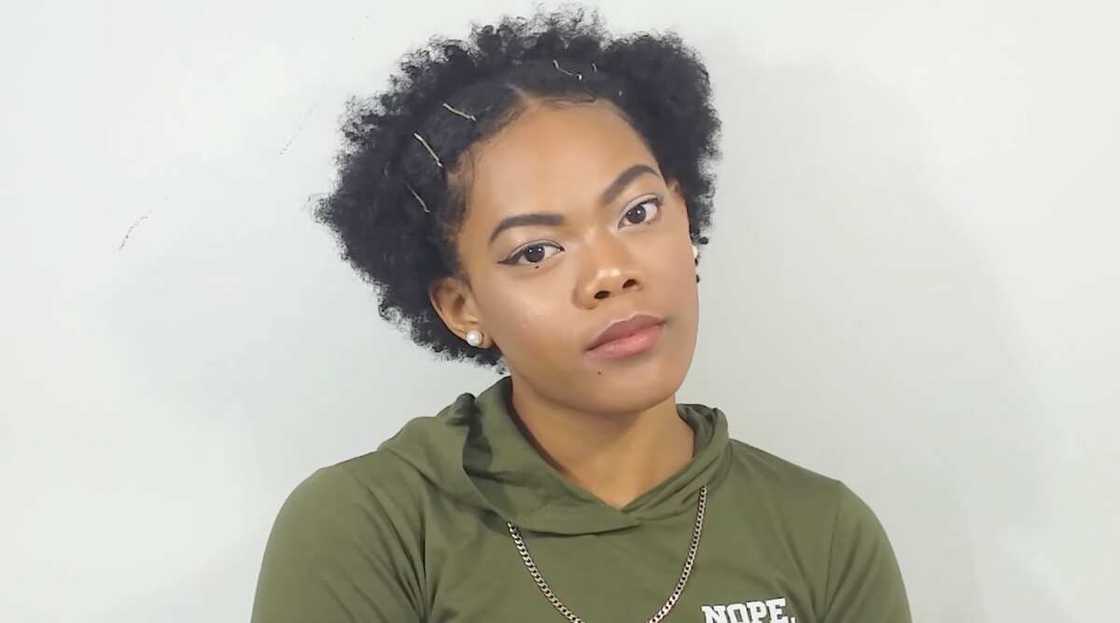
Sleeked down afro
Source: UGC
Photo: youtube.com
Last, but certainly not least is this cute hairstyle. The first half of the process (and all of the instruments) is the same as for the previous hairdo: you section out the front of the hair, separate it in the middle and pin the rest of the hair down.
From there, you will need to moisten both parts from the front of your hair and lay them down, away from the middle part. Use hair gel to make the hair lie as flat as possible.
When you slick the hair all the way up to your ears, it will be most convenient to tie it into a small ponytail and pin the hair with some hairpins along the way. It is hard to put it into words, so consult the photo above to get what we mean. After that, remove the hairclips and fluff up the hair that is not sleeked down for that unique look.
Those were all the short natural hair styles we have for you today. If you prefer video instructions to text tutorials, you can use the video below as your guide and see how these hairstyles for natural hair work on practice. Best of luck on your hair journey!
READ ALSO: Natural hair types and care: type 4 hair
Source: Legit.ng


