How to make braided wigs
Braided wigs are a perfect for all those who want to have long pretty braided hair but don’t want to wait until their hair grows. Having a wig gives you a perfect flexibility of hairstyles. You can wear long braids today, your natural short hair tomorrow, and long braids again the day after tomorrow! Changing styles in a wink of an eye – isn’t it a girl’s dream?

How to make braided wigs?
If you try to wear a braided wig once, you won’t want to part with it. Having this accessory gives you a lot of space for hairstyle creativity. You can wear the braids any time you like without spending painful hours in a hair salon. You can detach the wig at any moment without doing any harm to your natural hair.

READ ALSO: Braid hairstyles for long hair
What’s more amazing, these wigs are often handmade, so you can make one for you and not only train your creativity but also make a piece that meets all your demands. Custom-made things are usually more convenient and fitting than the ones you can purchase, so it’s a great idea to make such a thing on your own.
You need to keep in mind that making such a wig can cost you a pretty big sum of money but it’s well worth all the money you spend. Besides that, if you discover a real talent for making braided wigs, you should think of making your personal business out of it.
Braided wig tutorial

Before we get down to the actual steps of making a braided wig, let’s find out what you will need.
- A wig cap
- A piece of lace
- Hair extensions for braids
- A hairstyling mannequin head
- Some pins
- Sharp scissors
- Big sewing needles and the thread of the hear extensions color
- Combs
- Some hair cream for styling
- Hairbrush
- A lighter
Now, there are two main types of caps that are used for making wigs. Dome caps are more durable but they are also quite thick and don’t let much air through. Weaving caps with a u-shape opening are more breathable. You are free to use any of these types, whichever is more preferable to you.
Read also
See how these bald-headed men are getting back their hair without stress as they give baldness a bloody nose (photos)
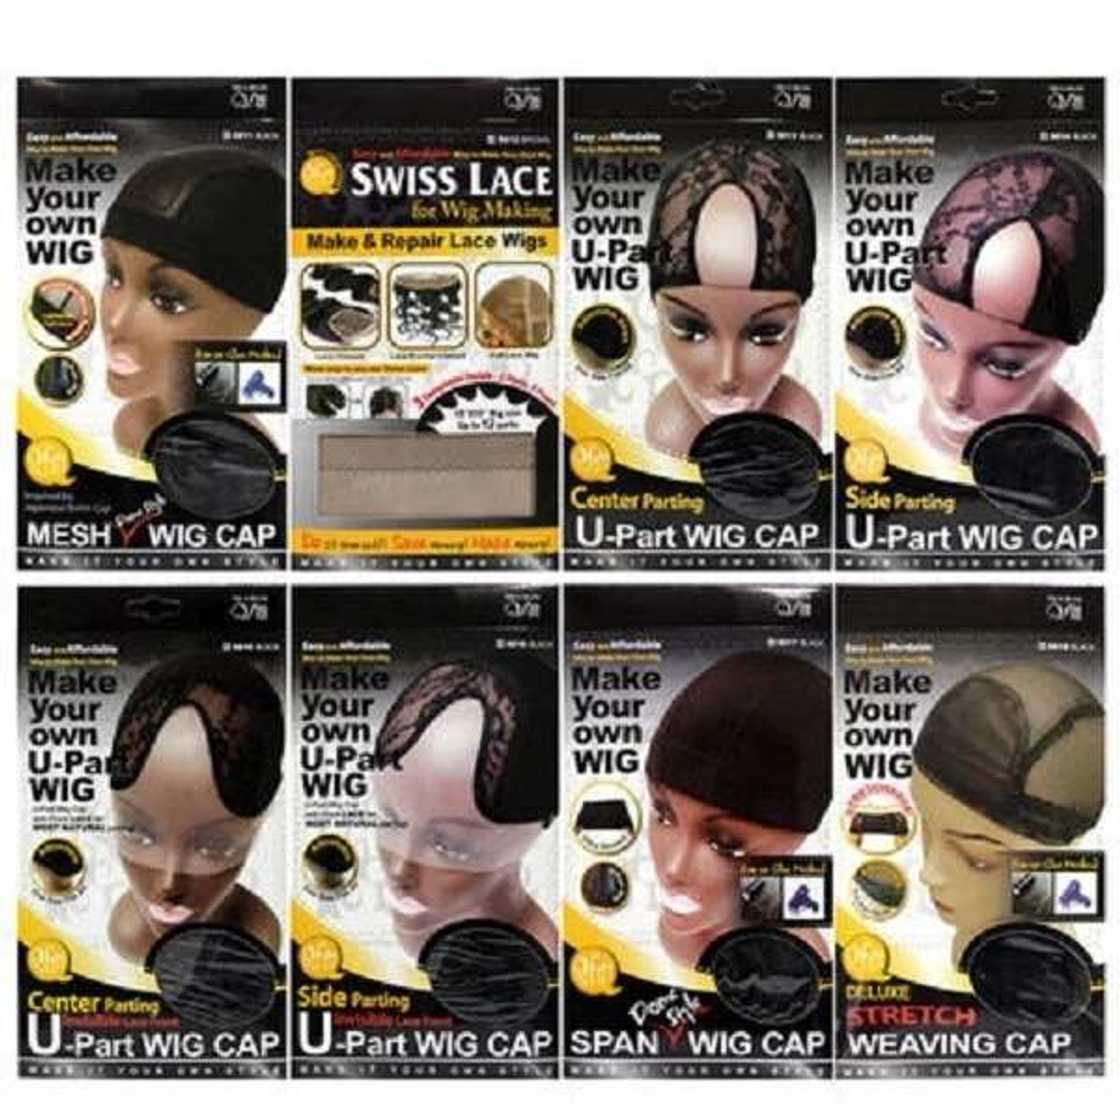
If you are good at sewing and can work with elastic fabrics, you can try to make a wig cap on your own. It’s not difficult if you measure your head properly. Make sure that the measurements are taken accurately and that the cap is not too tight. You don’t need the wig to cause a headache after the first several minutes of wearing.
When you have chosen the best cap for your wig, here’s how to make a braided wig: steps and tips.
Step 1: Prepare the hair extensions. Cut them as you like. If you are not sure, watch some online tutorials on working with hair extensions but you have surely seen what hair stylists do in their salons so you will be able to do the same.

Step 2: Put the cap on the mannequin head and adjust it to the necessary size. If the cap is too big, you can always take it in with the help of the thread you have prepared and a needle.
Step 3: Make the lace closure for braided wig. This means, cut a piece of the prepared lace, adjust it where you want it to be and after you secure it with several pins, sew it down. In case you are using the cap with an opening, you will sew the lace to it. If you are using a dome cap, you will need to cut a piece of the material out under the lace.
Step 4: Make sure you have secured the lace piece tightly because the weight of the braids can be quite big for the delicate material. You don’t want it to tear your wig apart, do you!
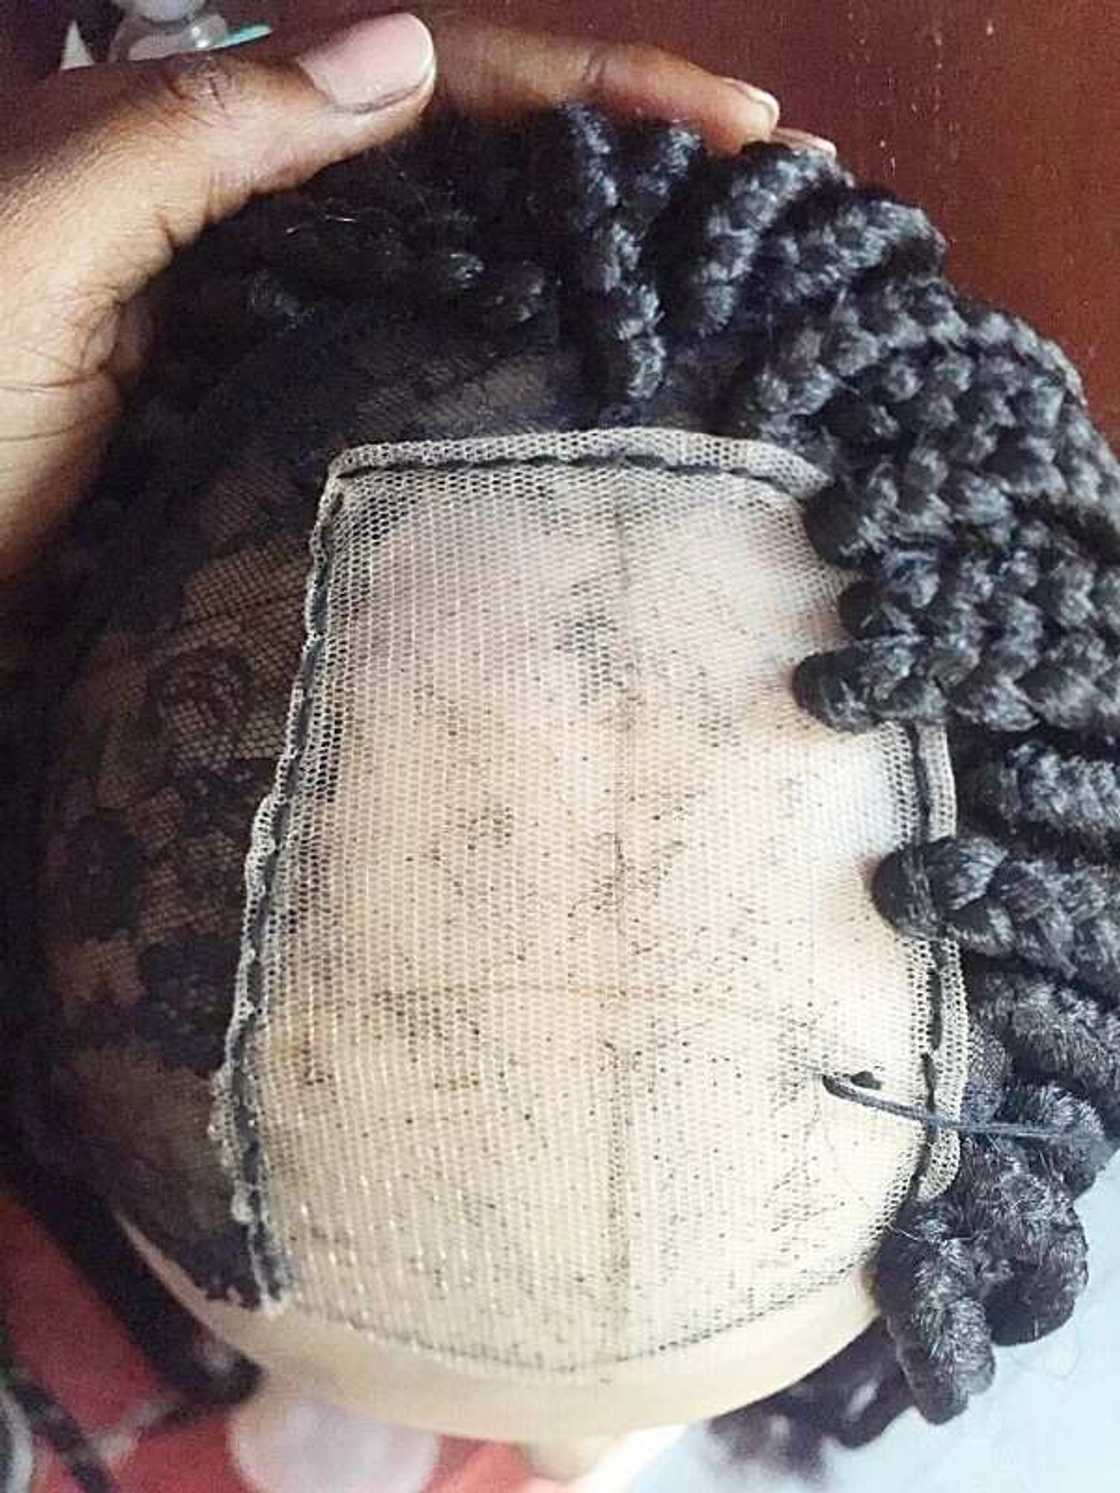
Step 5: Start making the braids. To do this, you will need to take a thin part of the hair extension, get it through a needle eye and pass the needle through the cap material. Then, pull out one end of the extension and make it hang out of the cap.
Step 6: You have created a base, so now you need to take some more of the hair extension and start braiding or twisting as it was your own hair.
Step 7: Keep on repeating the Step 6 until the cap is filled with braids as you like. However, you need to be very careful while filling the lace closure in order to prevent tearing and ripping of the fabric. Maybe, it makes sense to make braids in the front smaller just to reduce their weight.
Advice: You may fill the closure by doing the braids around a thread and then accurately tack each of them to the closure. The thread will reduce the tension and load on the delicate lace and prevent the ripping.
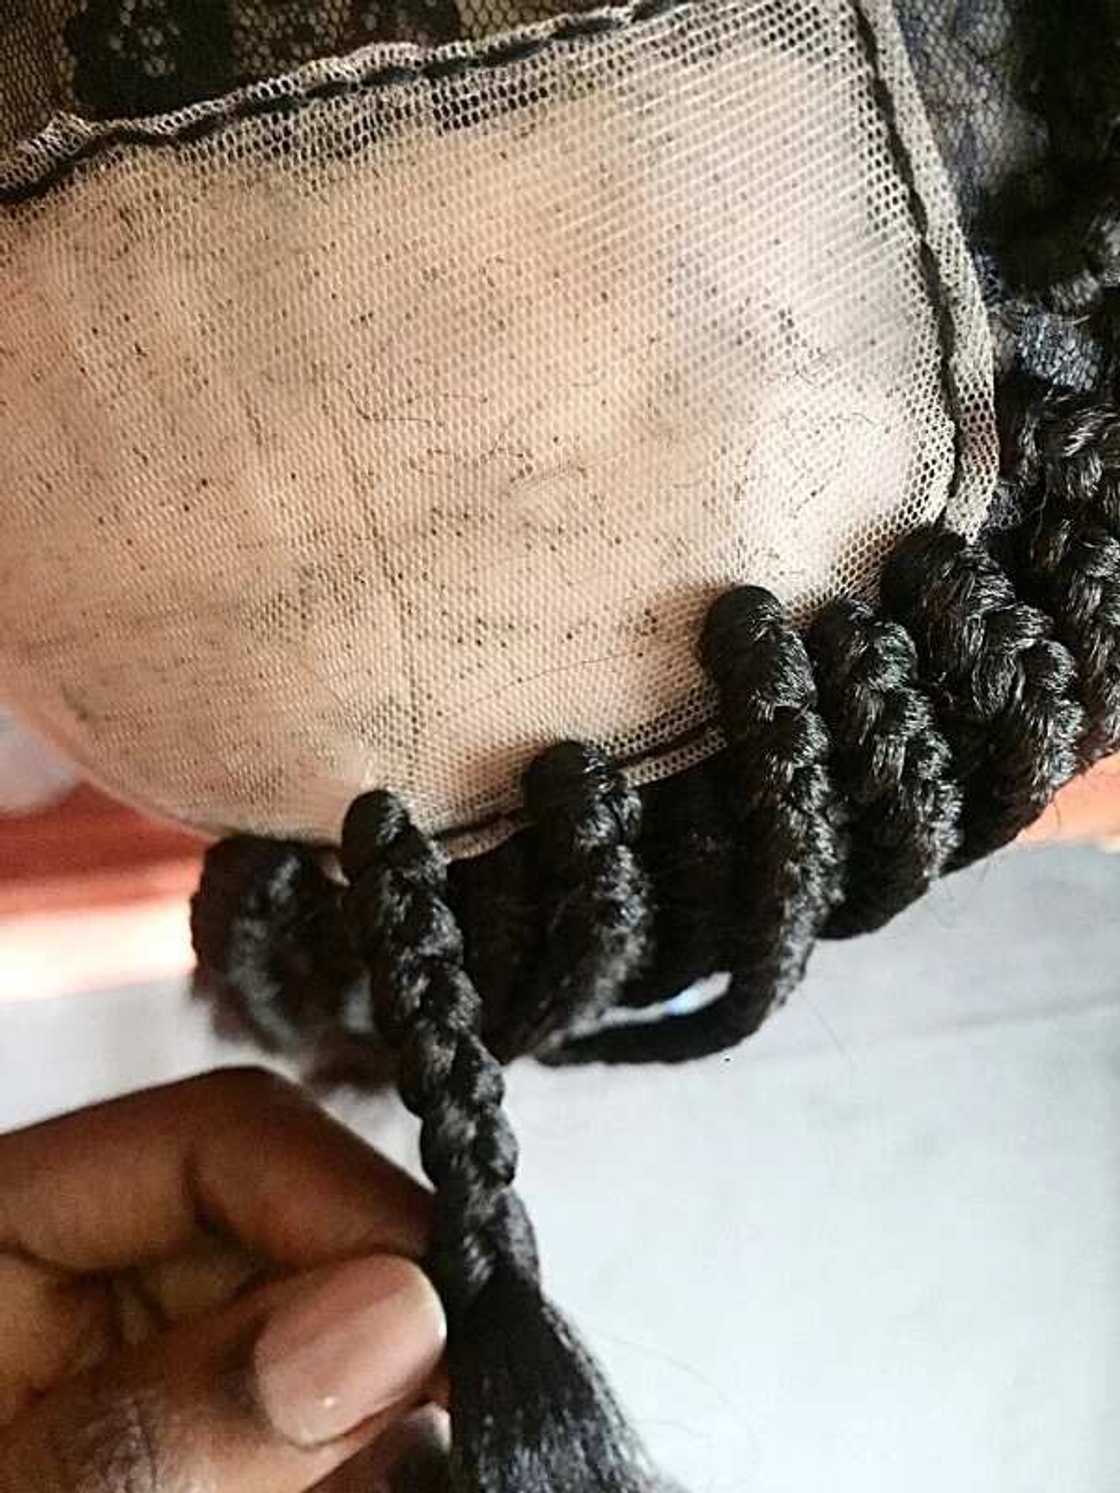
Step 8: Attach the wig combs or another security device. Some people may develop headaches due to wig combs. If you are one of them, try elastic bands that will keep the wig in place.
Step 9: Giving the wig a finishing touch! You need to either trim the ends or simply go through with a lighter because it’s faster and easier. Be very careful! This done, put the wig into some hot water for a while, take it out, remove the moisture with a towel, apply some hair cream to add some shining effect.
That’s it! You have created a braided wig!
Useful recommendations: braided wig lace closure and security
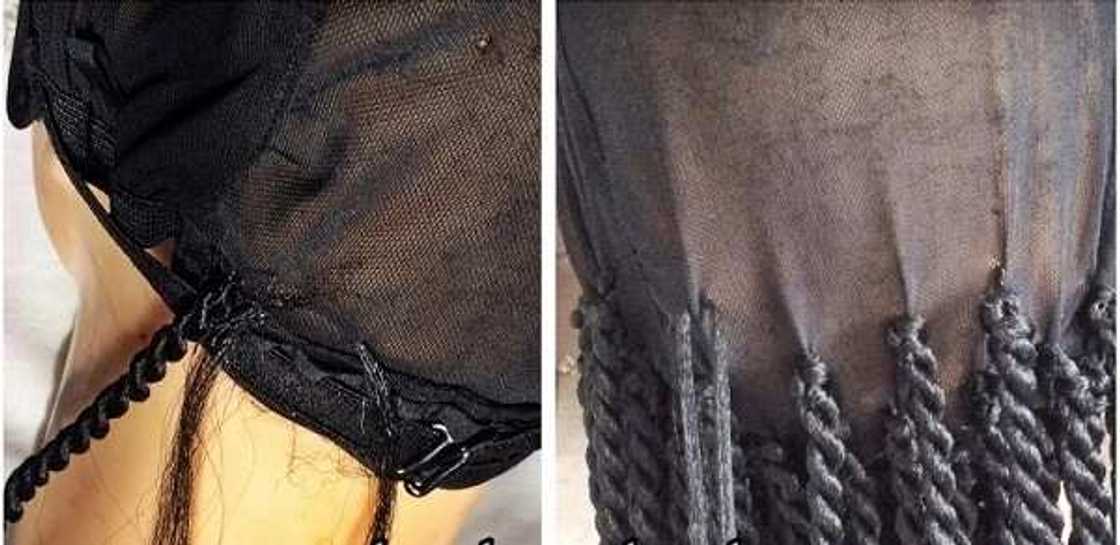
- After you have attached the braids or twists, make sure they are attached securely. Pull them and do it hard because you need to know whether the cap is firm enough and the threads are securely tied. This step is really important if you are making a wig for another person
- Make sure that all the ends of threads and knots are hidden under the braids and nothing is visible. Do everything neatly and hide all the ends on the wrong side of the wig. Also, make sure that there are no big gaps between the braids that expose the lace or the cap
- If you are into using colorful hair extensions, use threads of the same color. If you have a thin transparent lace at the closure, don’t pull the thread under the lace because it may be visible in some places
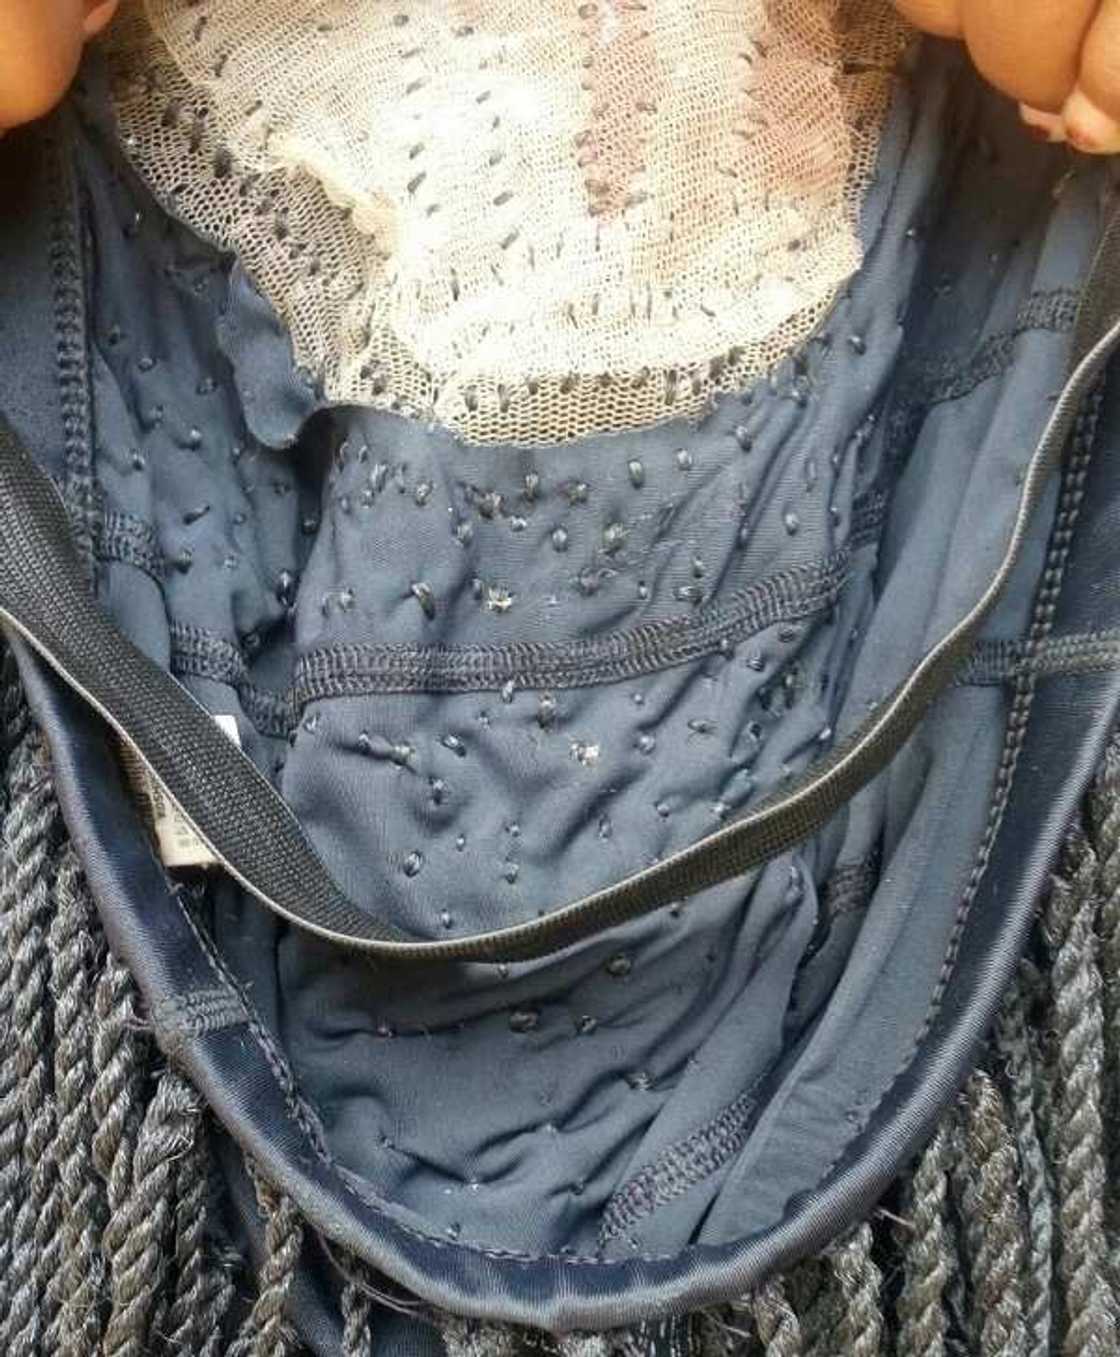
- The same goes for the lace. Choose the color that matches your natural coloOR. It will be less visible even if you part the braids for a certain hairstyle. It’s also possible to purchase a cap that already has some lace in its frontal part. It will also work
A bonus: one more method of making a braided wig
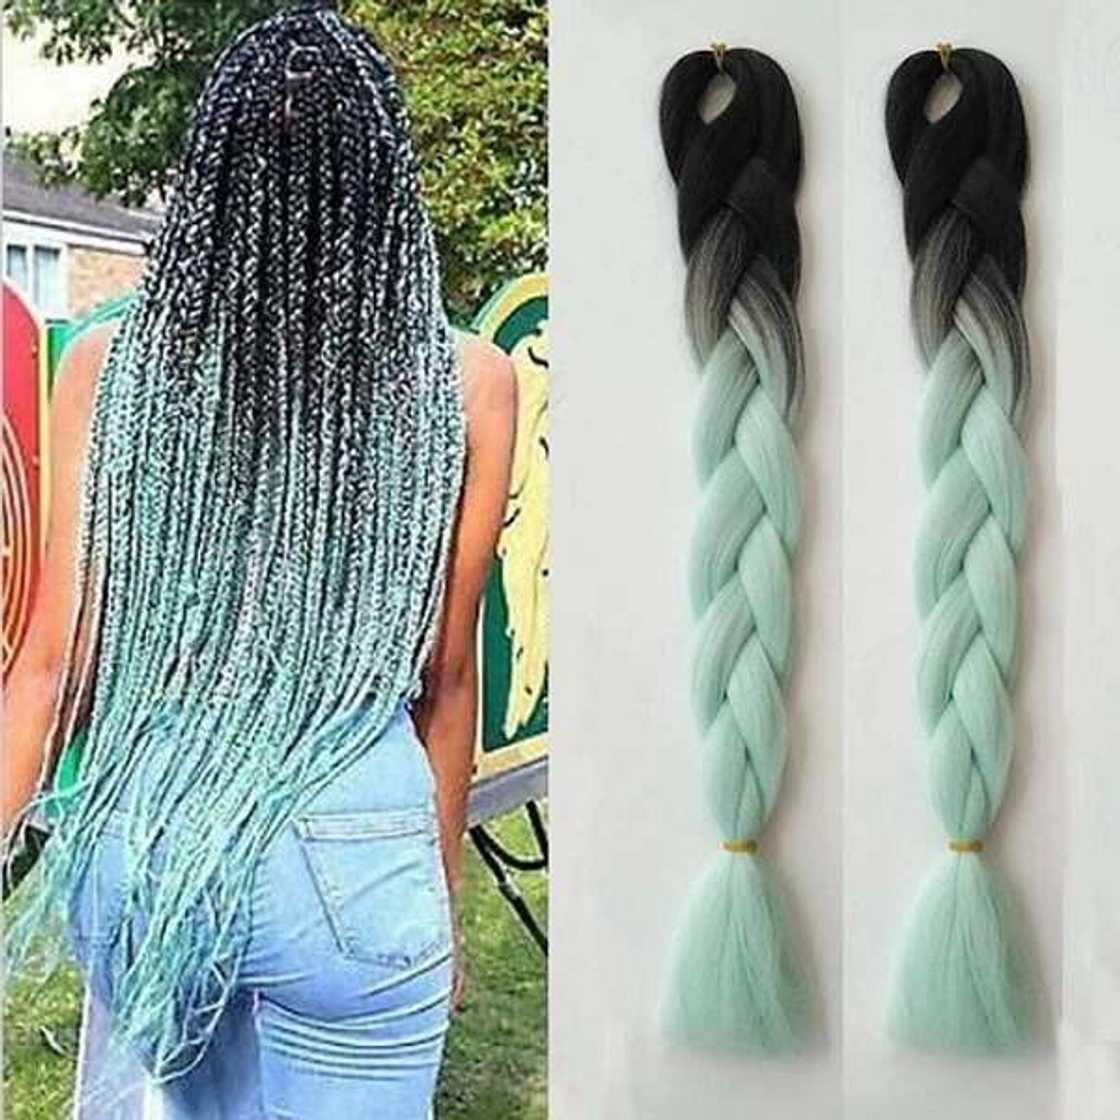
The process that was described above is really time-consuming. You may guess from the time it takes to create one regular braid or one twisted braid. Of course, if you start in the morning and don’t distract, you will be through until the evening. However, it’s in case you make no mistakes and don’t need to redo anything, unbraid the already done pieces, or repair the cap.
Well, you are free to use a less time-consuming method that is equally effective. Everything you need to do is get the braids done separately from the cap. That is, first you do the braids (or have them done by somebody else) and then attach them to the cap.
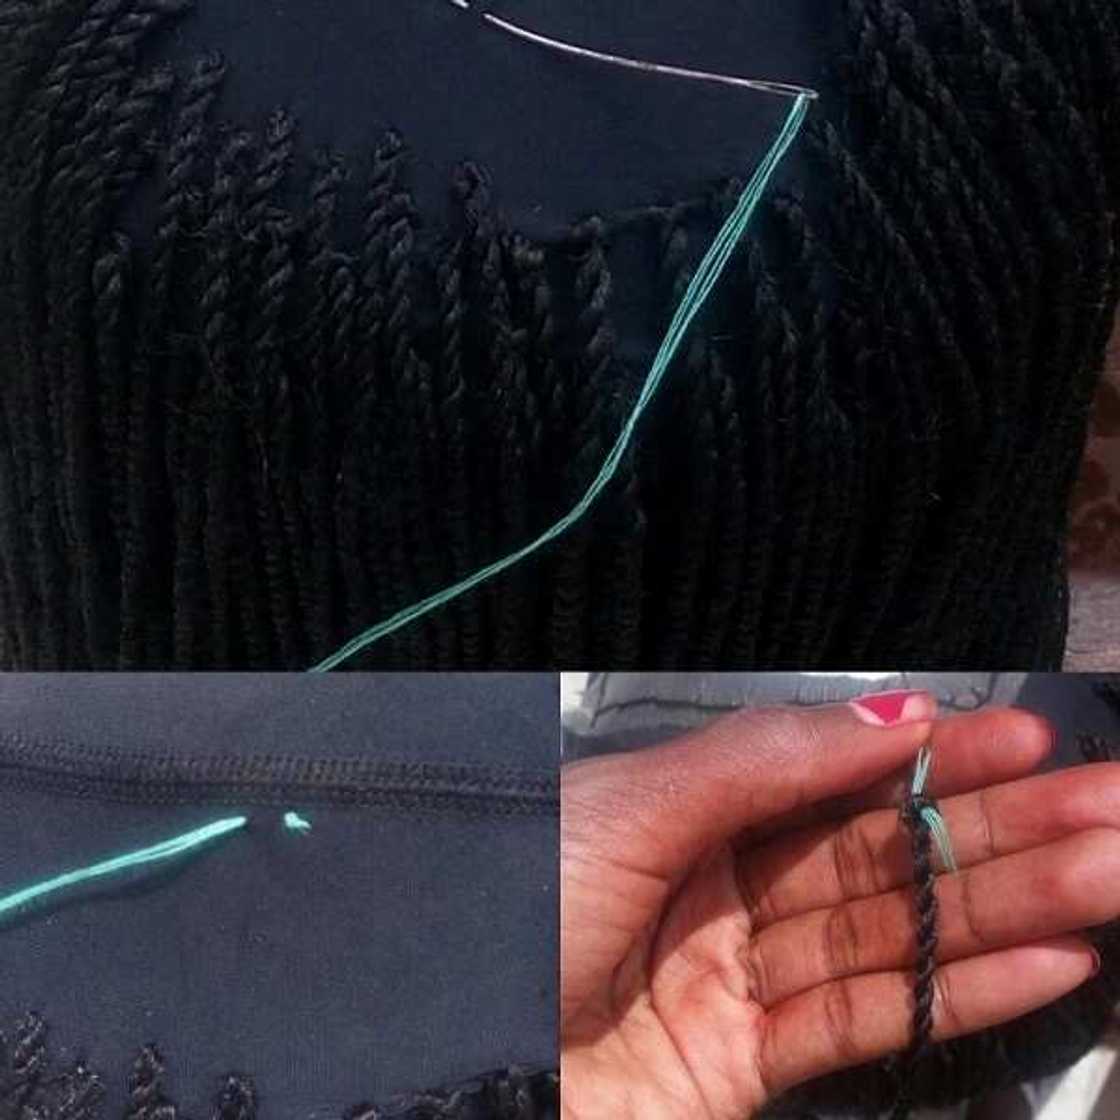
However, it’s better to fill the lace closure with the braids with the help of the method that was described first. It looks more natural and just like the braids that are made out of the real hair. You may need a crochet hook to pull the parts of hair through the cap at this stage instead of a needle with a big eye.
You need the braids to have a loop that allows putting a thread through it. When you have enough braids to fill the cap, you just sew them tightly to the cap with the help of a thread that matches the color of the braids. The thread must be knotted really tightly but be careful with the lace part. In case you notice the signs of the ripping, add another layer of the lace underneath the first one.
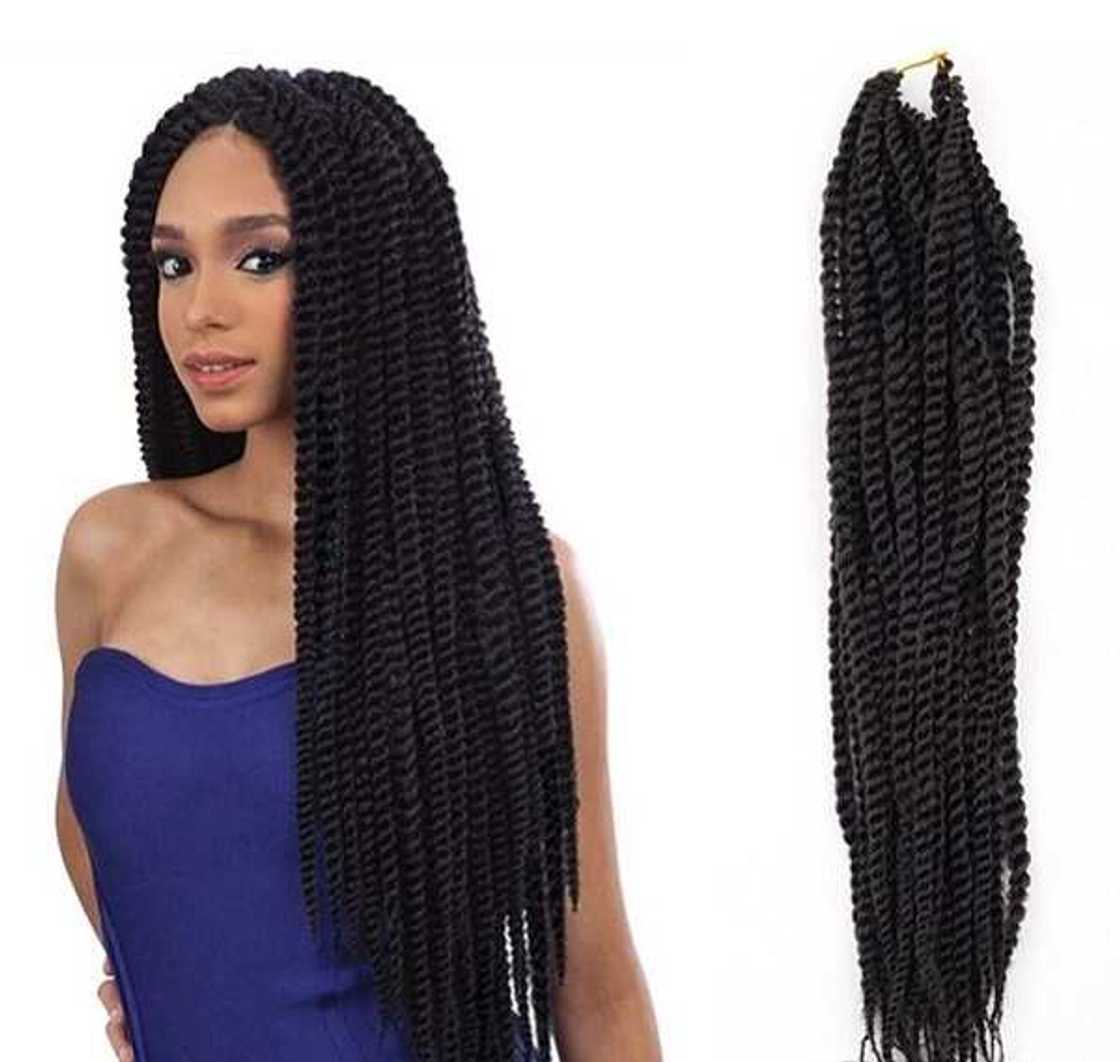
Remember to use the lace that matches the color of your skin so that it’s invisible in the front and that you don’t leave a too wide parting between the braids. If you do everything right, you will have a perfect accessory to enhance your style and beauty.
READ ALSO: Baby wool hairstyles you should certainly try in 2018
Source: Legit.ng


