How to make hats with sinamay
If you want to know how to make hats with sinamay, this article will provide you with all required information. Follow the recommendations listed in the simple and detailed manual, then you will have a beautiful headdress made in accordance with your aesthetic predilections.
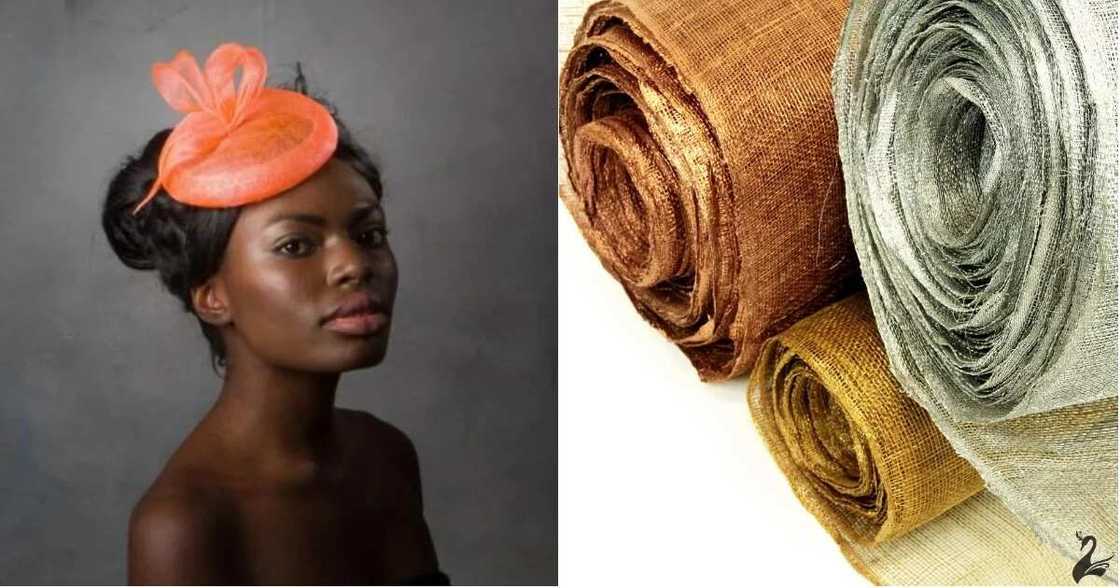
Sinamay is one of the materials used for hat making, it has an airy texture, lightweight, and a wide color palette. Due to all these advantages, it is a perfect option for the creation of elegant female headgears. A natural fabric woven from fibers of banana palm is flexible when wet with water. Therefore it is able to take different interesting forms.
If you have not found a suitable design in any accessory store, do not be upset. Each woman can make her own elegant hat.

How to make hat «pill» with sinamay?
You do not need to have sewing skills to create a hat from sinamay. The main thing is a great desire and love for this accessory. We have prepared for you the easiest guide that will be the perfect beginning of your path as needlework master.
Read also
Weeks after Yinka Ayefele stood on his feet, this paralysed woman walks for the first time ever (see video)
You will need:
- the base for the hat;
- threads;
- needle;
- pins;
- rubber band;
- comb;
- reps strip;
- details for decorating the hat;
- glue;
- scissors;
- iron with steam function;
- webbing.
READ ALSO: How to bead gele? - Useful and easy tips
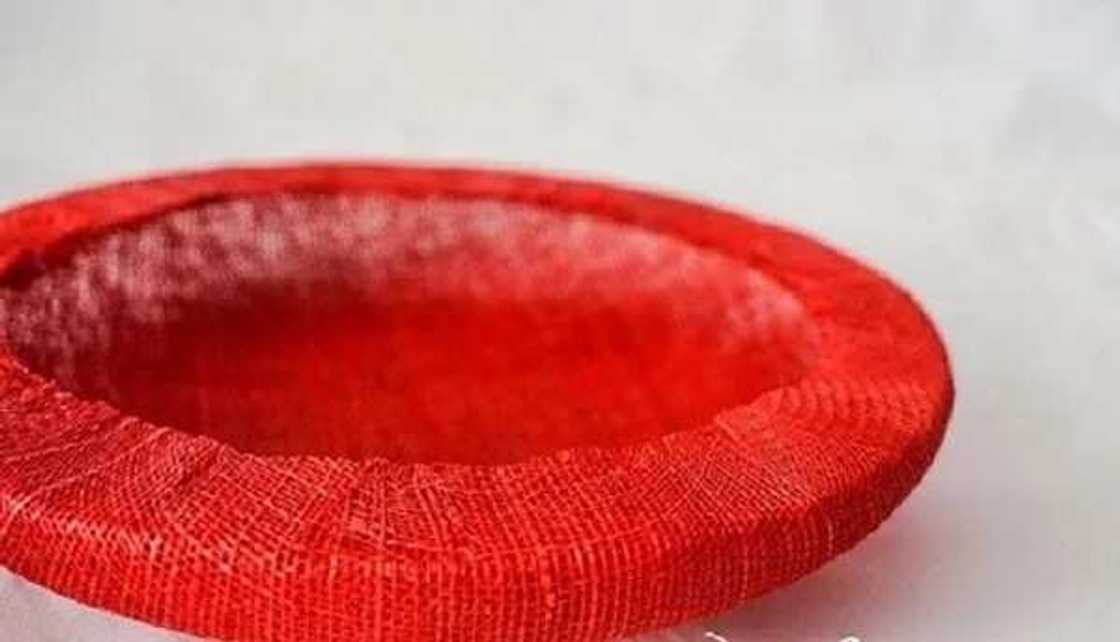
Hat making tutorial
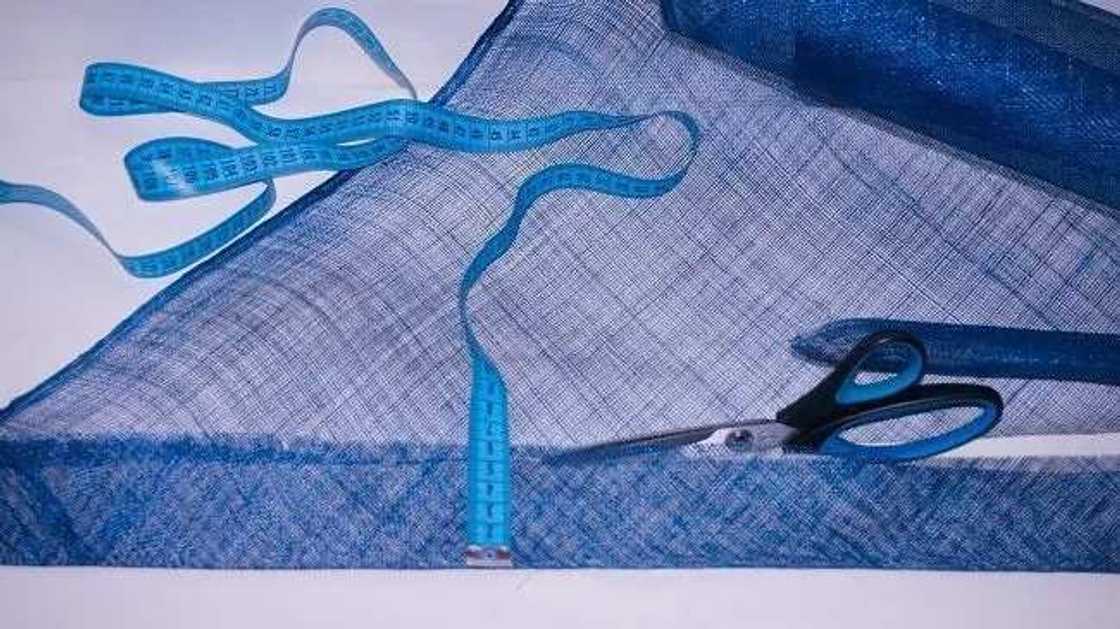
- In order for the base to become a hat, it is necessary to process the underside. Since the sinamay is very "prickly" it is necessary to cover the edge, that is, sew the webbing to the cut. The webbing can be made of the ordinary cloth or of sinamay. If there is no ready detail, we make it ourselves.
- Fold the material on an line, measure the width of 6 cm from the fold line and cut off the double cloth.
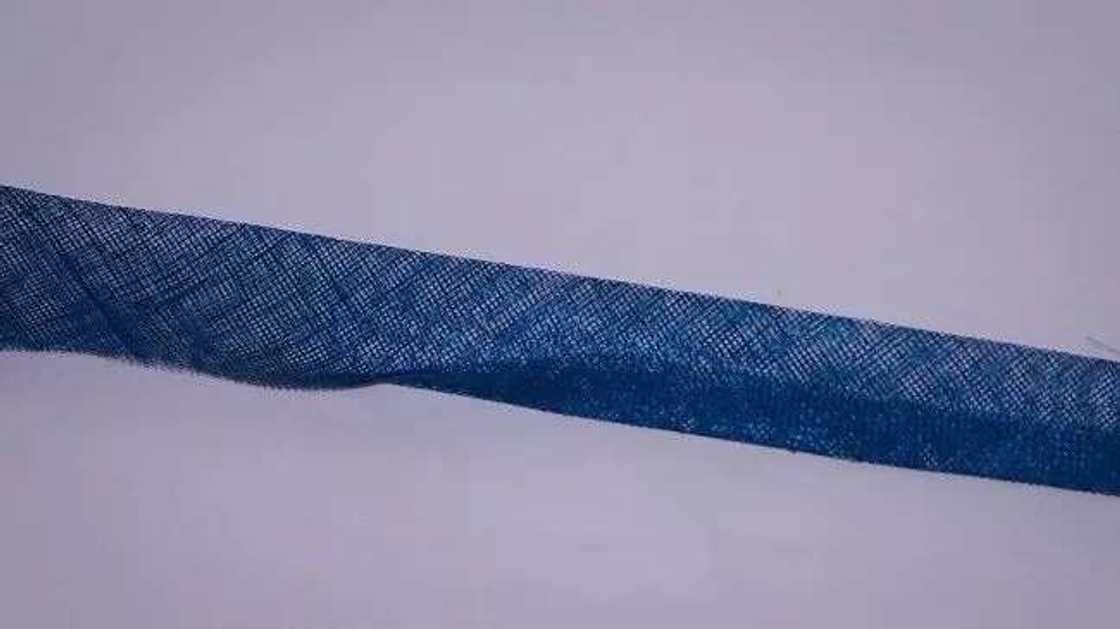
- Fold the tape along again so that the side with the fold should be 1.5 centimeters.
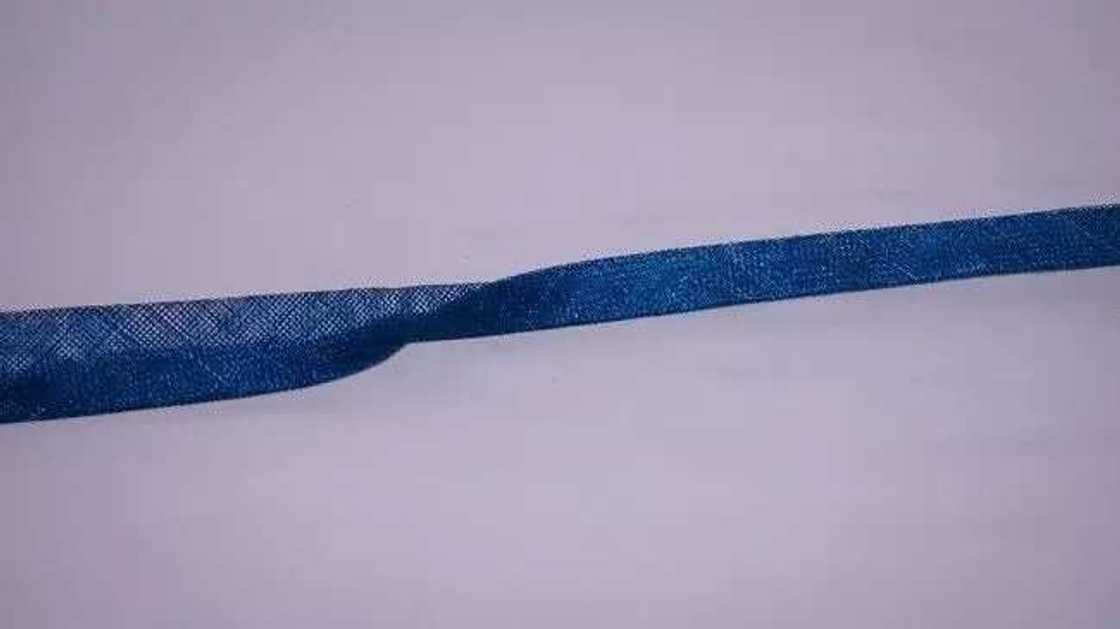
- Fold the tape along once again in half. Now both sides are "clean" and the slices are hidden. Iron it with warm steam iron. The slanting webbing is ready.

Read also
Ladies with big thighs, fat hips will live longer, these are the people who won't - Study shows
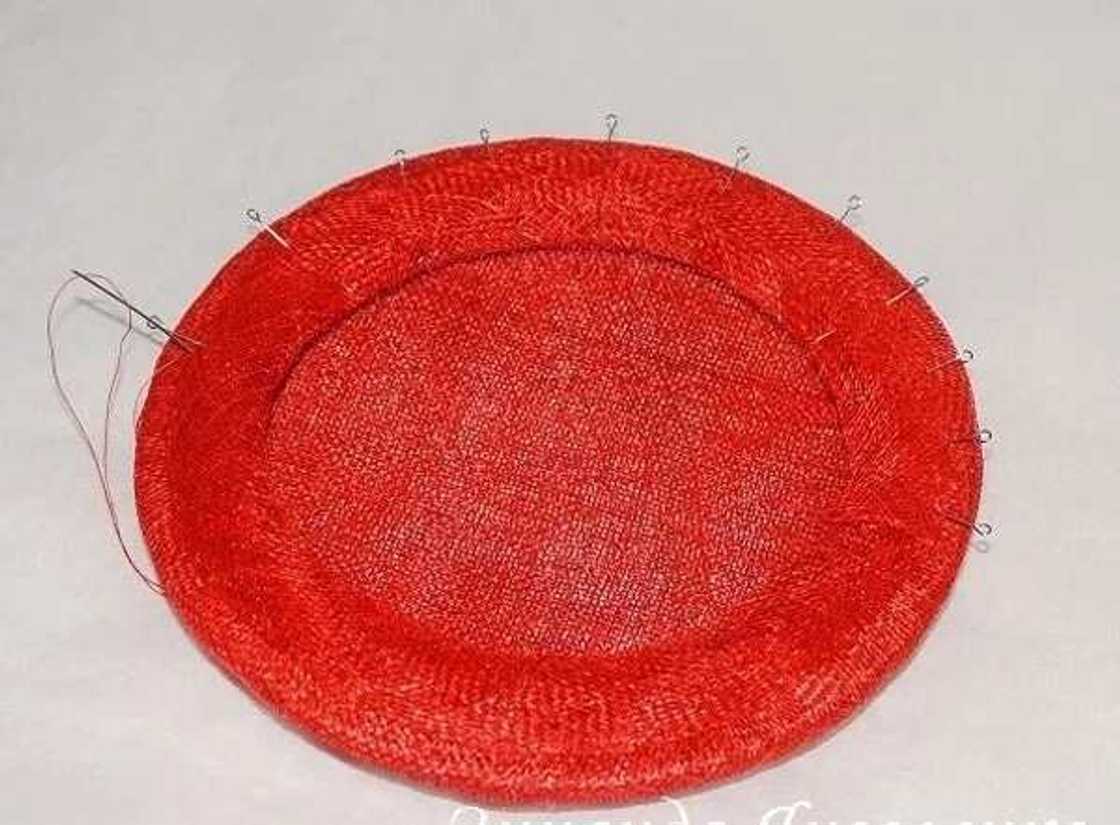
- Cover the edge of the cut by sewing the webbing with small stitches: from the front side, a stitch is 1 mm, from the underside - 0.5 mm. Without reaching the end of the webbing, stop, place the tip inward for 2-3 cm, cover the beginning of the webbing, sew up till the fold.
- Sew the fastener. Cut off the rubber band 35-37 cm in length. Tie strong knots at the ends. Symmetrically sew the nodules of the elastic band from the underside. For maximum strength, fix them with glue.
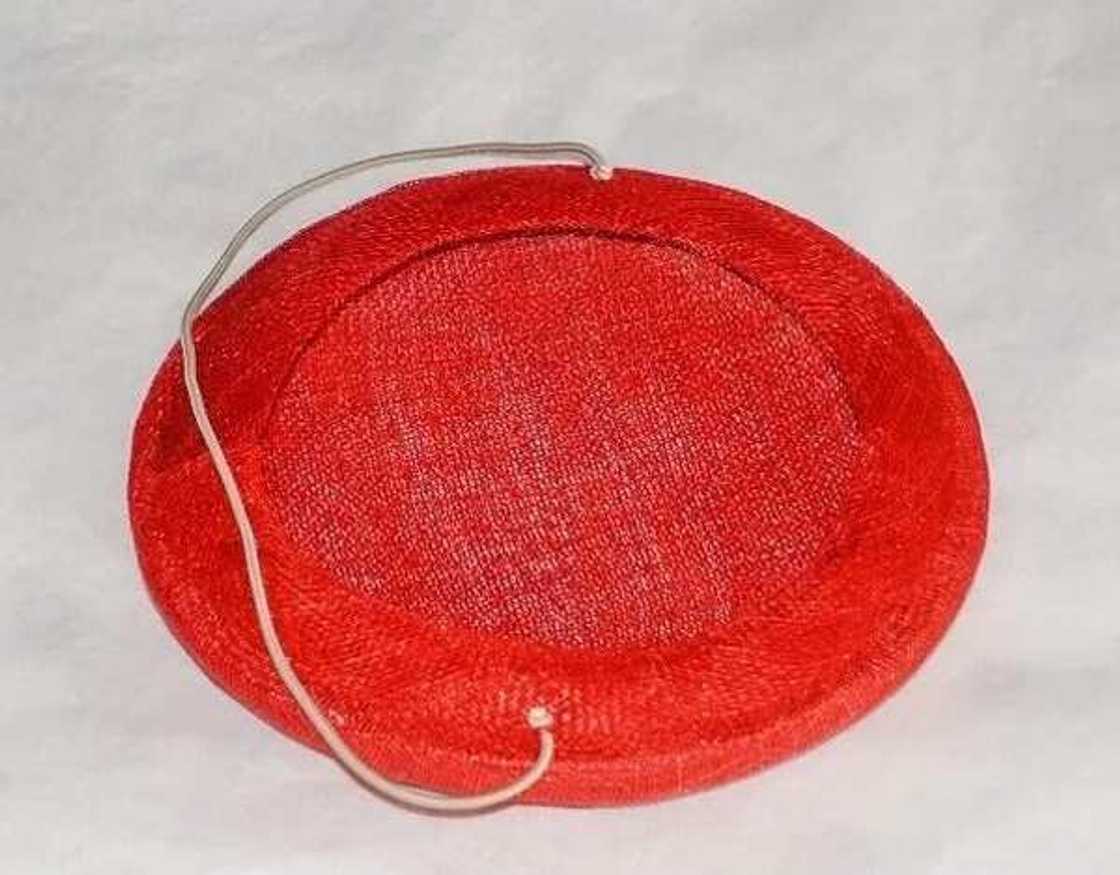
- For protection from the "prickly" sinamay, for beauty and style, we sew the reps ribbon over the rim and rubber band by moving it to the front side with small stitches. The front side of the seam is 1mm, the underside is 0.5mm.
- Not reaching the end of the tape, bend the tip inward for 2-3 cm, cover the beginning of the tape, and sew up till the fold.
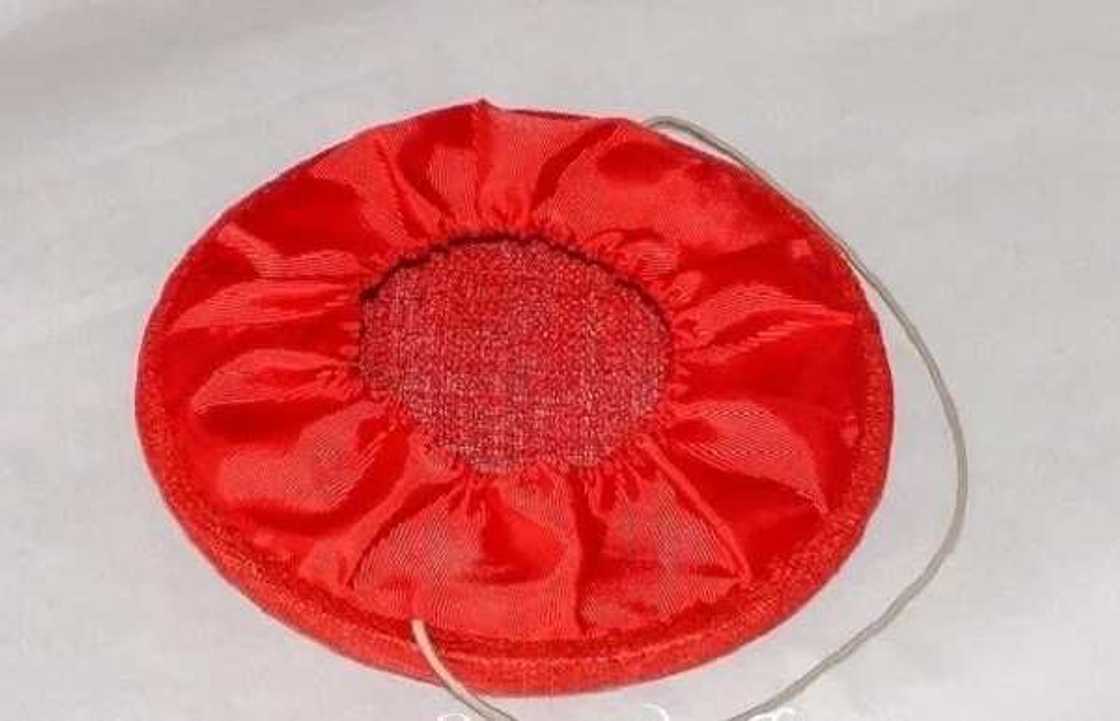
- The other (loose) side of the tape is also stitched and tightened. Now the tape lies in a circle neatly and does not stick out. We connect the comb from the underside. The teeth must "look" into the middle and its convex side is connected to the cloth. The comb is necessary for the hat not to "slide" to the face.
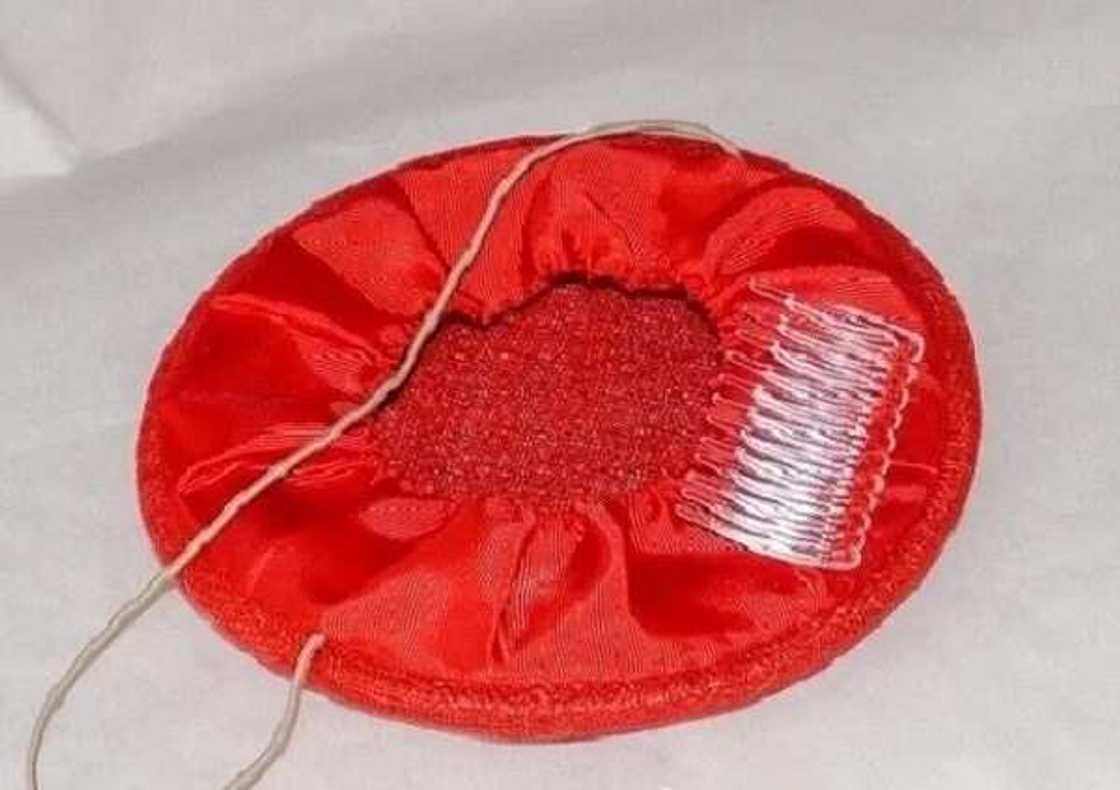
- The very simple hat is ready or we would rather call it a base for our future hat!
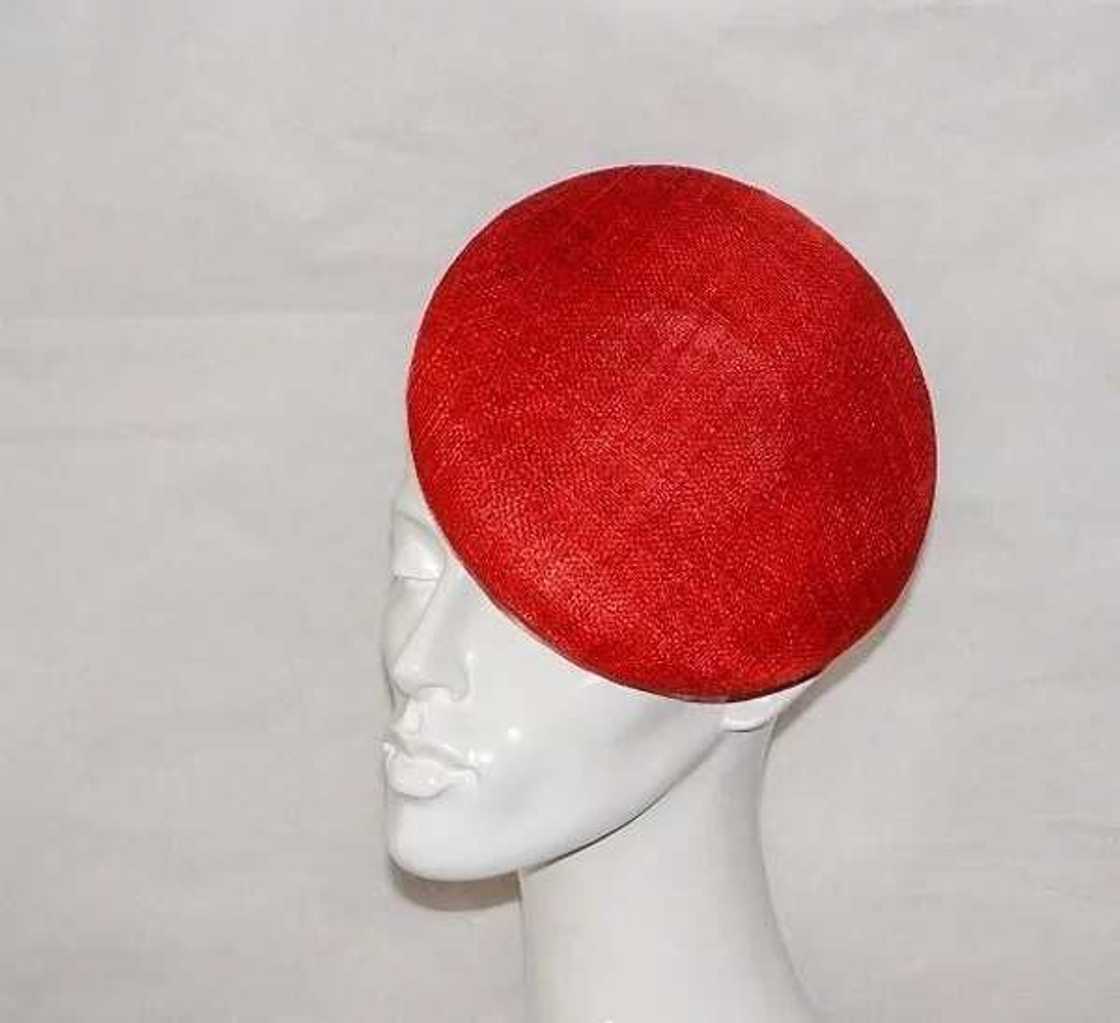
- The next stage is the flight of your imagination - decorating the hat with flowers and feathers, veil and ribbons, beads or stones, brooches or other beautiful interesting details.
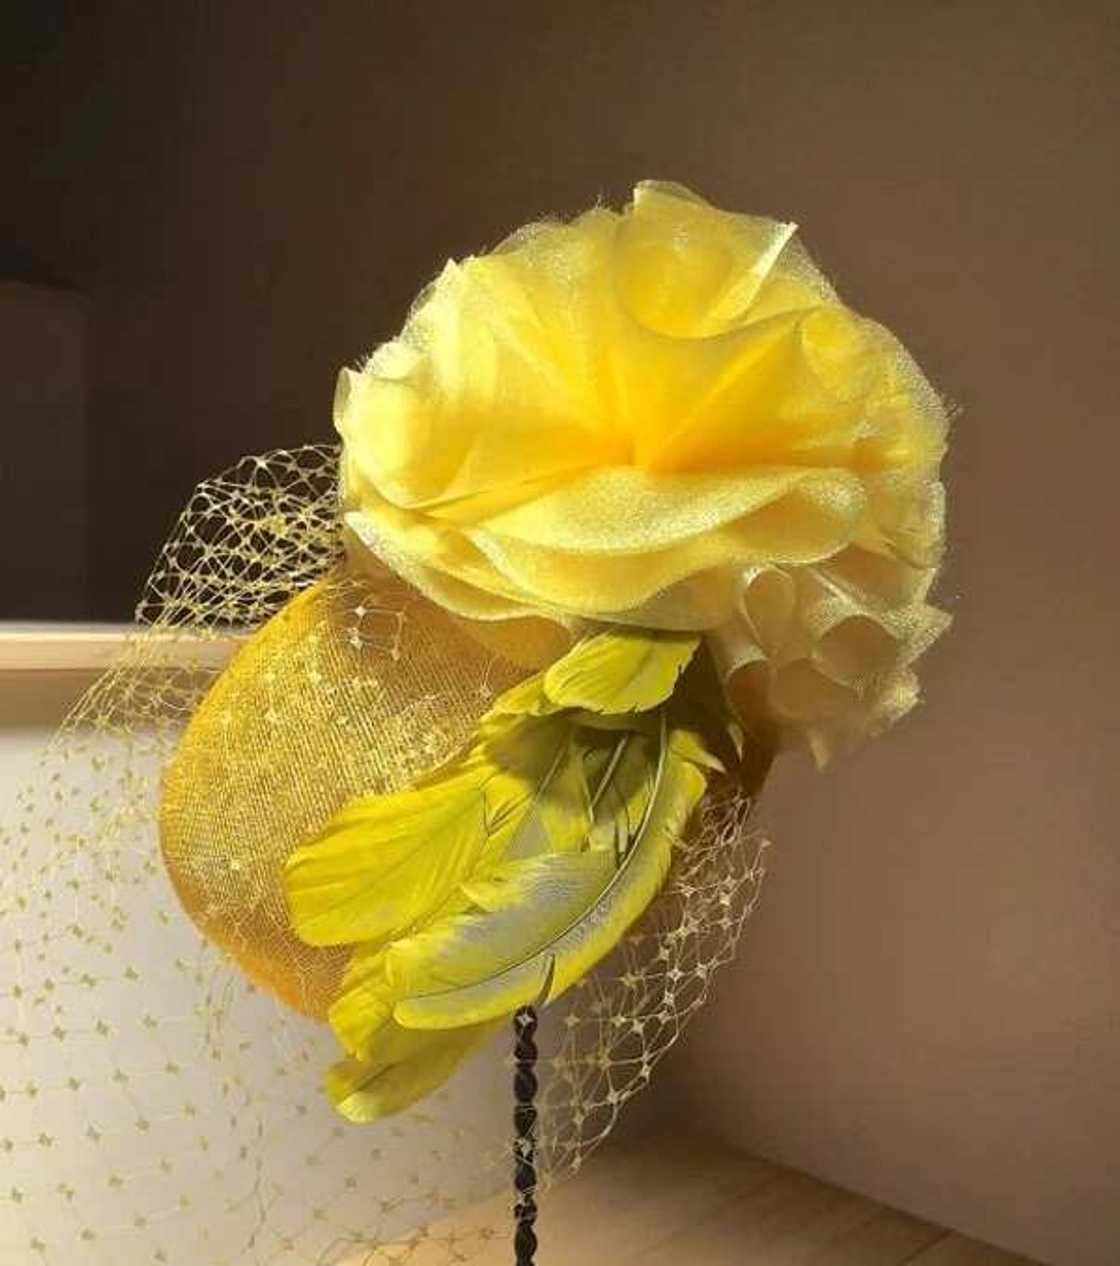
Helpful tips:
- Select the rubber bands with the colour that matches your skin.
- The top of the skill is the connection of the decor to cloth with threads, but you can also glue it with an adhesive gun.
- Note: the hat should be in harmony with the costume and coinciding in style, but not of the same color.
- The headdress with a veil is exclusively evening option and the white "pill" hat is a wedding accessory.

Read also
Exclusive: Legit.ng's Managing Director shares 5 digital trends to boost your business in 2020
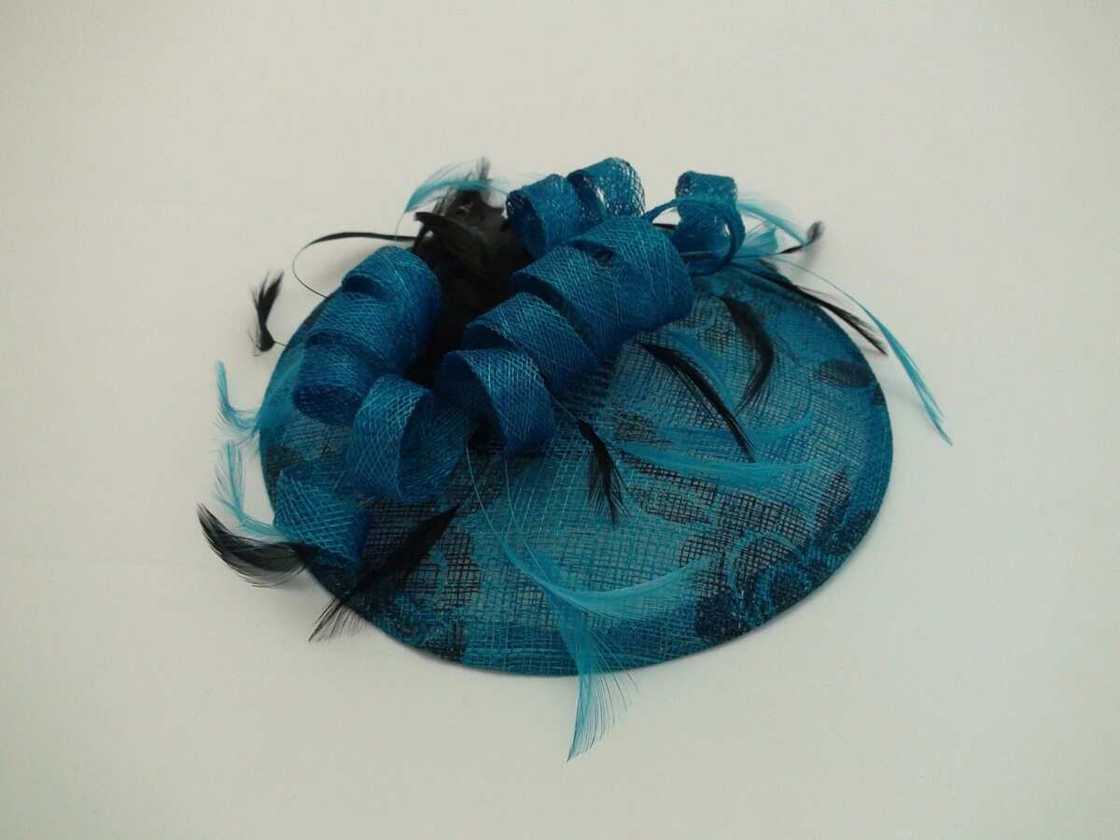
Hat of complex form with sinamay
If you have practiced the first lesson and want to improve your skill level, we invite you to learn a more complex and interesting type of hat.
1. Make a hat block for the hat, This is the basis which will provide the head wear with a needed form. You can buy already made wooden hat blocks or make a simple hat block yourself.
- Glue several pieces of foam plastic. Wait until the glue dries.

- Cut out the block from the foam plastic. The size and type of the hat block depend on the size and shape of the hat you want to create. It should be no less than your head.
- Cover the hat block with glue using a brush. Wait for the glue to dry out and proceed to the next step.
2. Cover the hat block with a foil. So you'll keep the underside of the hat clean. Fasten the film to the bottom of the carcass with pins. For more reliable fixing of the film, fasten it with a rubber band along the line of the pins.
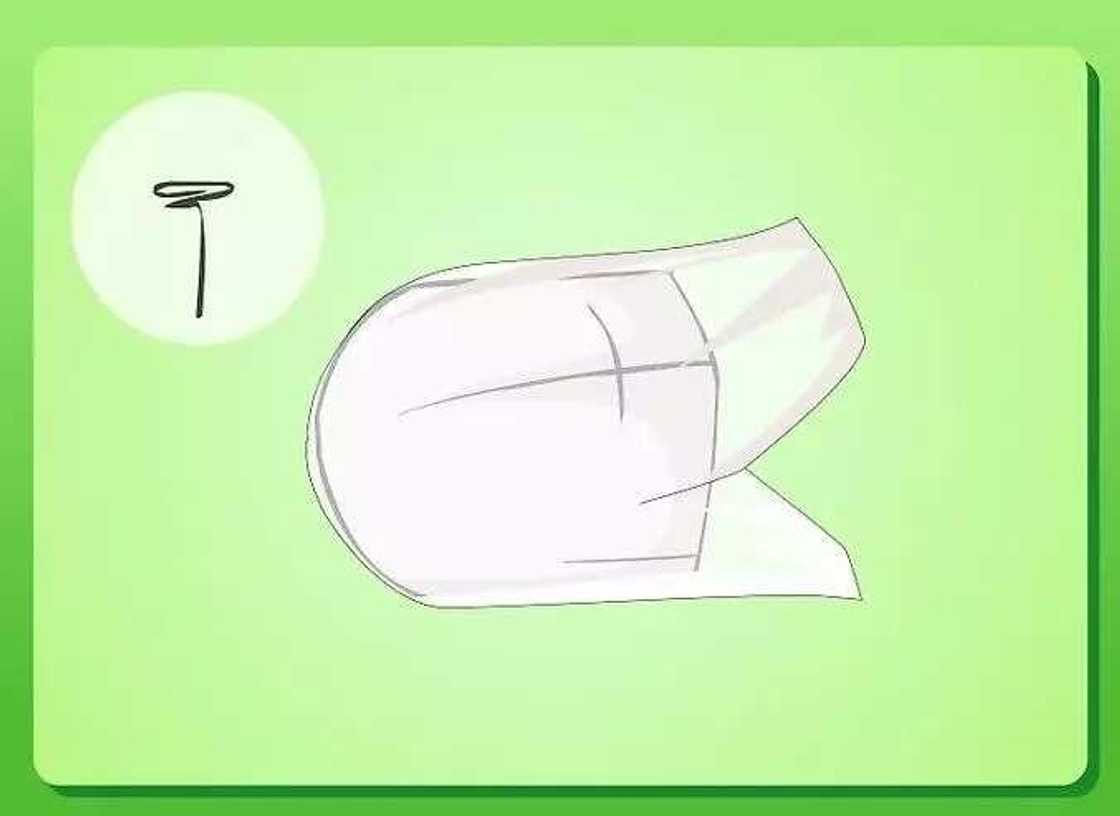
3. Cut out two circles from sinamay. The diameter of each circle should be 7.5 cm wider than the widest part of the carcass.
4. Create the shape of the hat's top. To do this, you need to stretch the sinamay over the block:
- Soak sinamay in water.
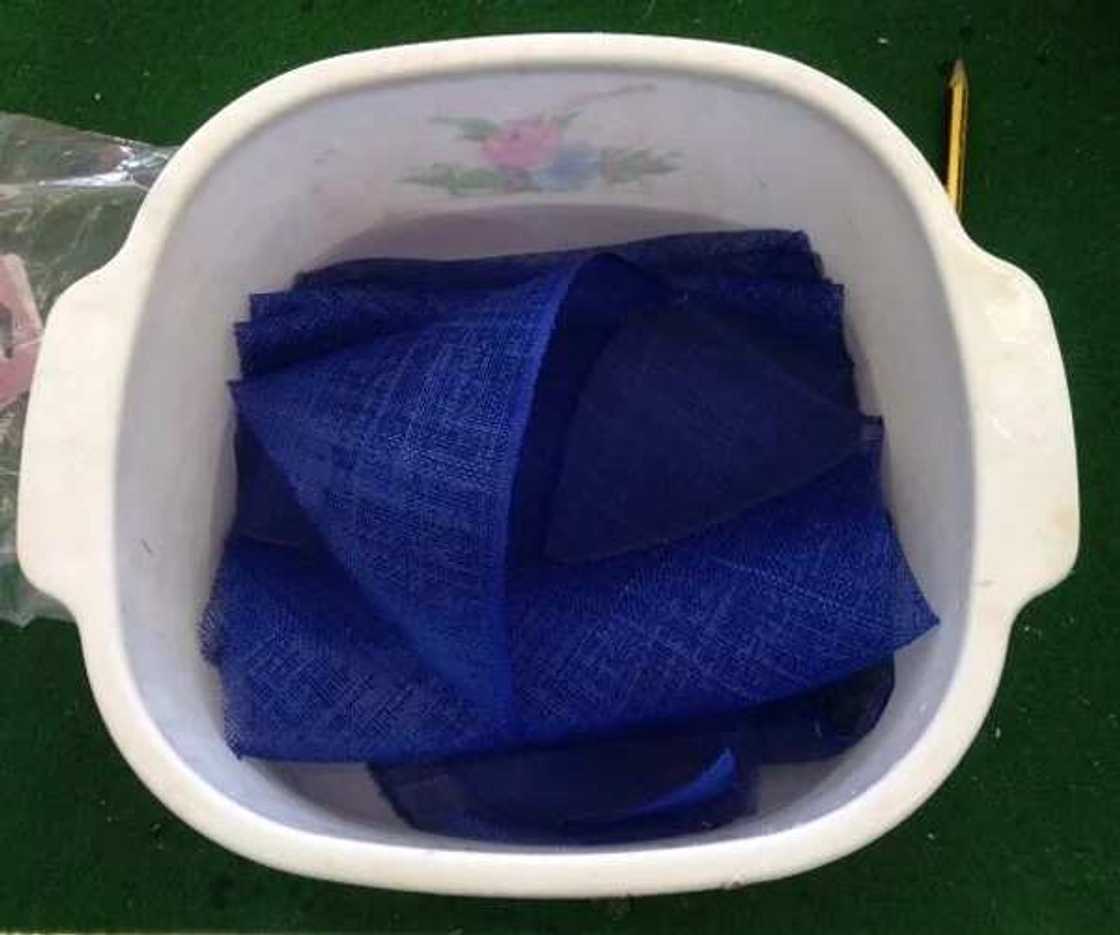
- Place the wet sinamay on top of the hat block. Fix it with a pin in the center so that it does not move.
- Stretch sinamay over the frame. Do this carefully not to damage the material. Fix the material with pins on the sides of the block.
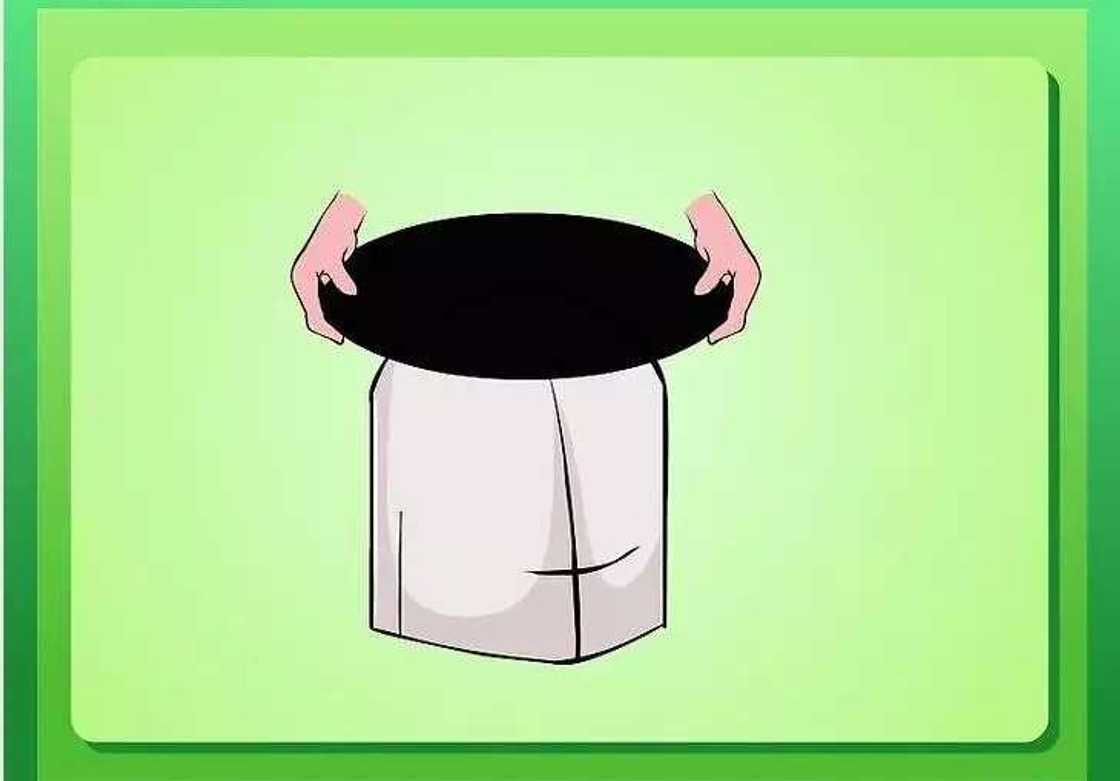
- Remove the top pin. Do not touch the other pins yet.
- Again stretch the sinamay with more effort. Continue to shape the top of the hat placing pins at every 2-3 cm. When this step is performed the length of sinamay under the pins should be equal. For additional fixing, use a rubber band along the line of the pins.
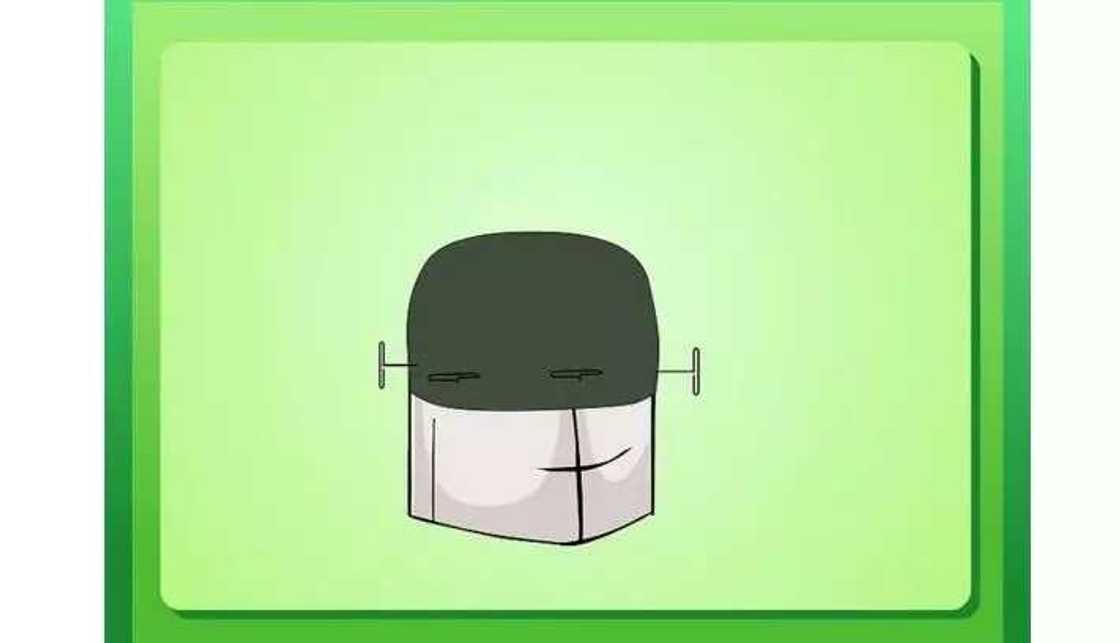
- Cover the sinamay with glue using a brush.
- Wet the second sinamay circle before applying it. Repeat the procedure of stretching with the second circle. Do not cover it with glue after stretching. Now the top of the sinamay hat should completely dry.
- Then remove it from the hat block. Using scissors, cut the excess sinamay at the bottom.
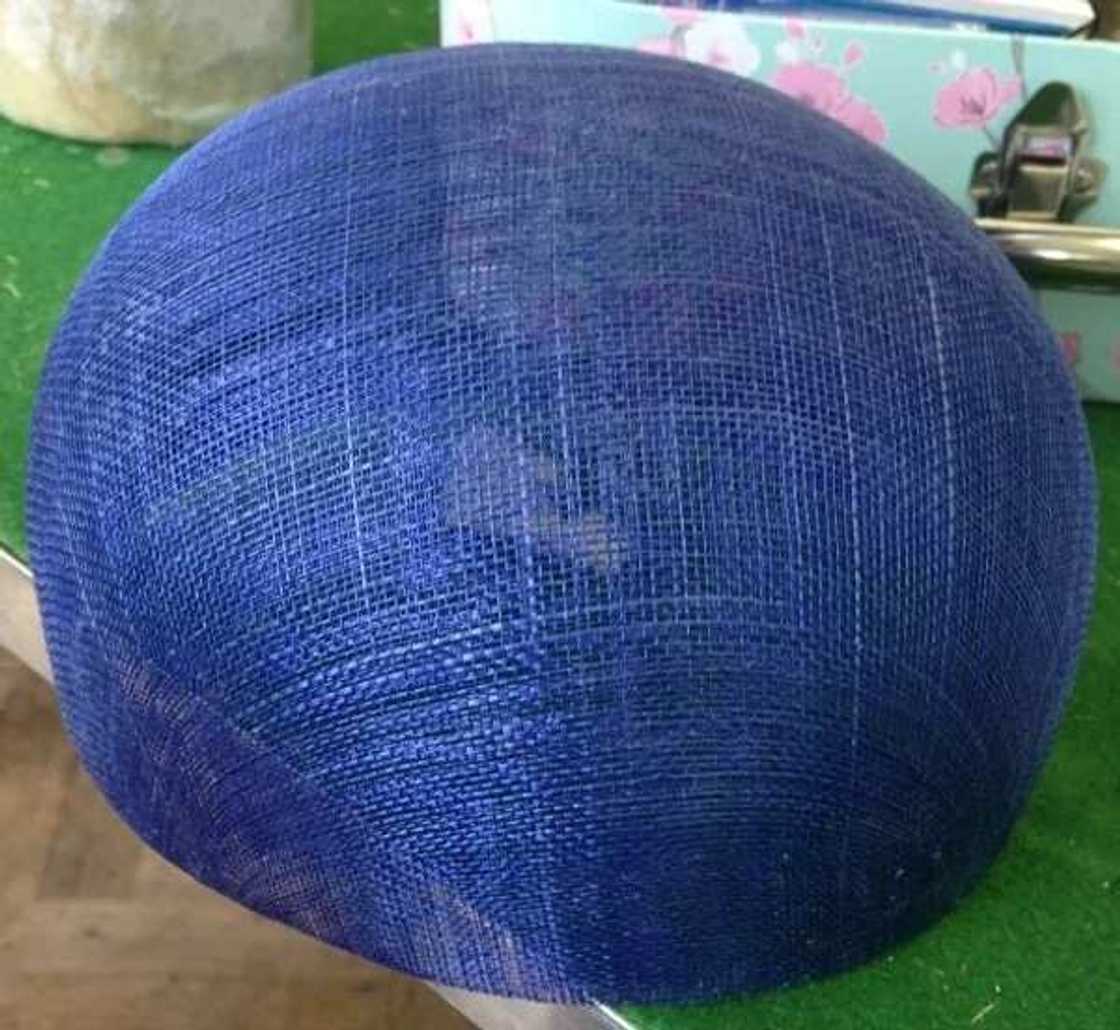
5. Make the brim for the hat:
- Cut out two parts of sinamay of the same size. Regardless of the desired size of the brim, add 5 cm to it.

- Moisten both parts. Cover the first part with glue. Fold the two pieces together to form a double layer, then treat them with a hot iron. Smooth the brim with an iron through a pressed fabric to protect the material.
- Cut a circular hole in the center of the brim part. The diameter of the hole should be 2.5 cm wider than the diameter of the base of the hat's top.
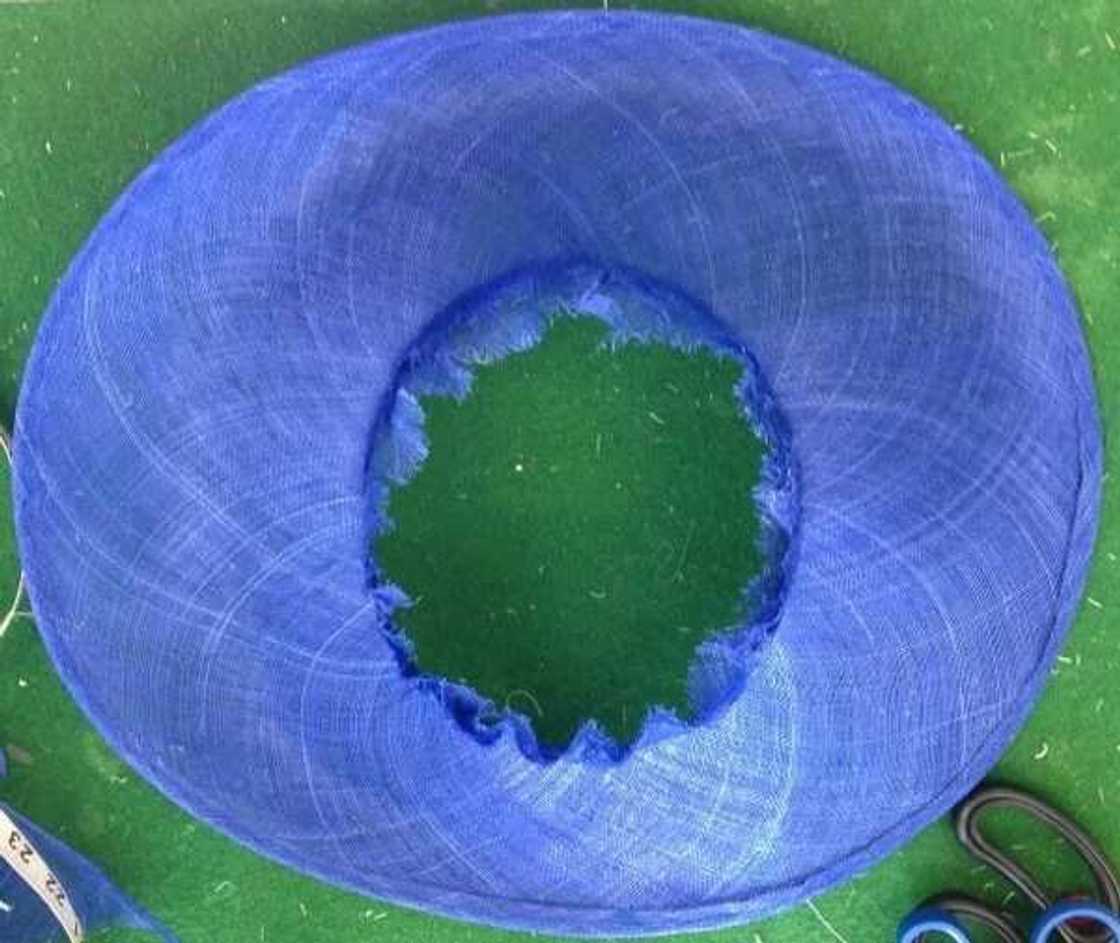
- Connect the brim to the top. Again, put the top on the carcass. Then put the brim over it. Fix the brim with the pins.
- Using a strong thread, securely sew two parts. Then remove the pins.
- Add decor, for example, an elegant sinamay ribbon along the seam line.
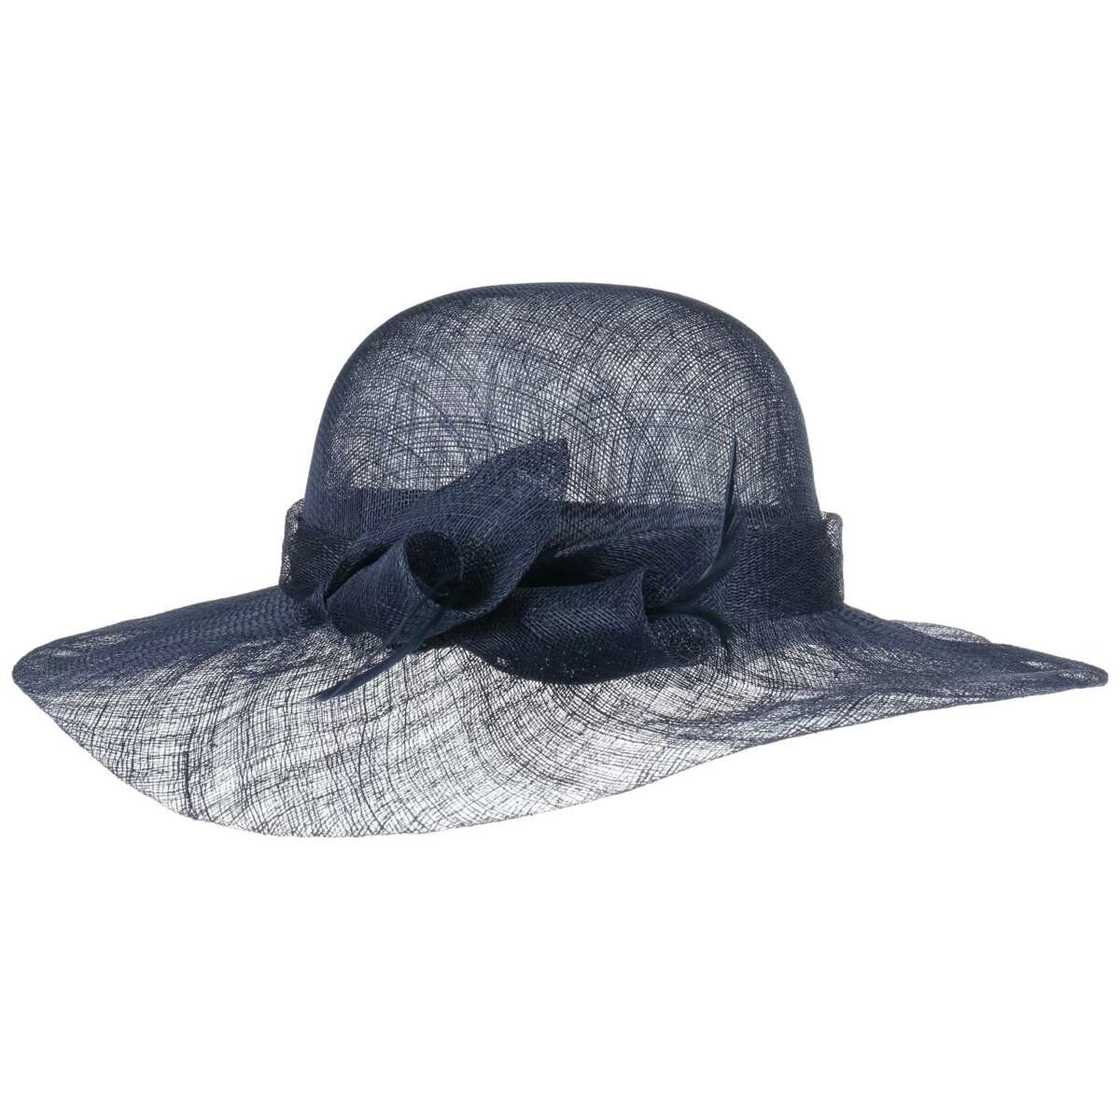
Sinamay is one of the materials used for hat making, it has an airy texture, lightweight, and a wide color palette. Due to all these advantages, it is a perfect option for the creation of elegant female head gears. A natural fabric woven from fibers of banana palm is flexible when wet with water. Therefore it is able to take different interesting forms.
READ ALSO: Latest gele styles and how to tie them
Source: Legit.ng


