How to make Bantu knots with natural hair
If you have beautiful natural hair, you have a chance to create a lot of awesome hairstyles! African women are incredibly lucky in this aspect because their hair is widely known to be especially strong and lush. Here, you can read a guide on how to make Bantu knots. They are another amazing hairstyle for natural hair, so you should definitely try it out!
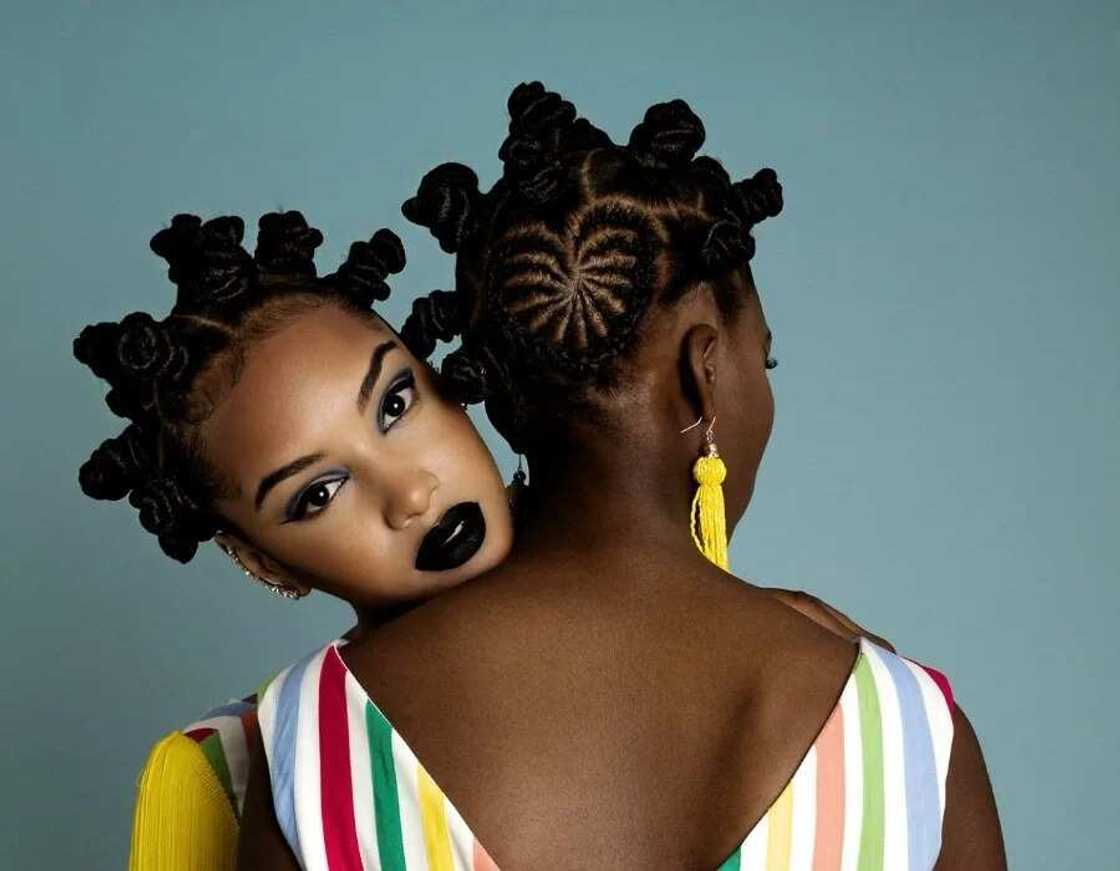
Bantu knot hairstyle: what is it like?
Are you wondering what is Bantu knot? It is a lovely and attractive hairstyle which is usually worn by African ladies. Basically, the knots work with almost all the hair types, but this hairstyle is African cultural pride, that is why it will be most suitable for gorgeous black women.
Bantu knots on natural hair are a real win: they look brilliant with every style, no matter if it is casual or formal. Actually, the knots are not even knots – in fact, they are the coiled buns. And if you uncoil them, you can create a nice curly hairstyle, which is known as Bantu knot-out. Curly hair is a trend, so doing Bantu knots is a good chance to create not one, but two beautiful hairstyles in a row.
By the way, a lot of celebrities have tried this hairstyle, and they had no regrets! For example, below you can see how Rihanna rocks the Bantu knots.
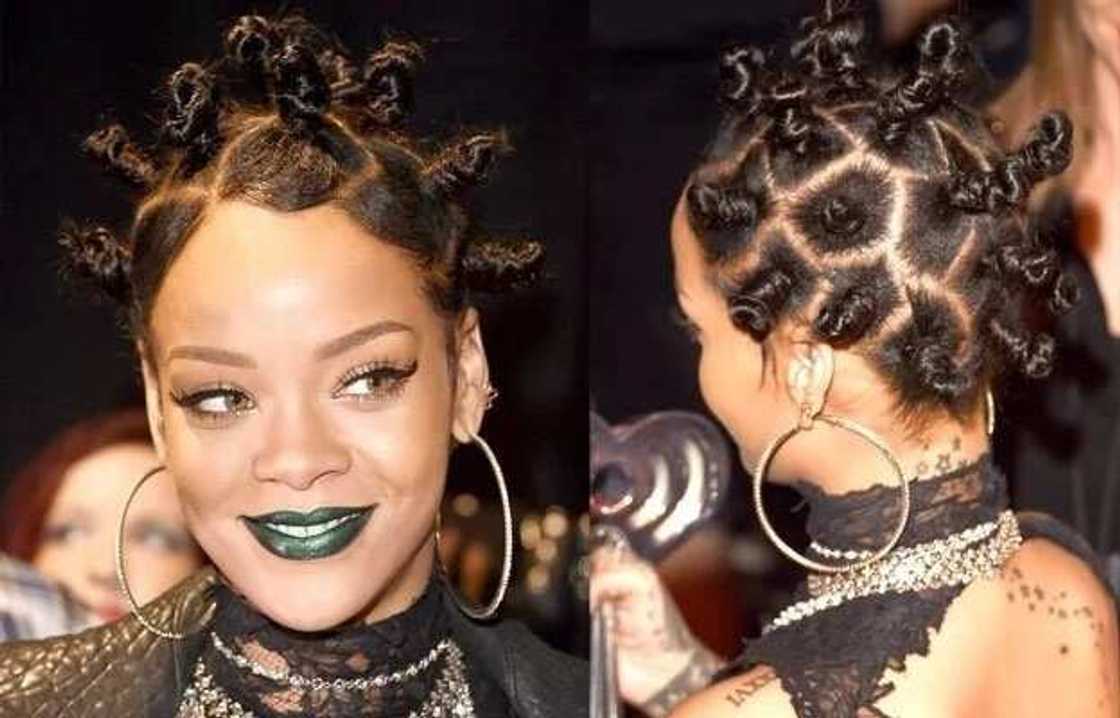
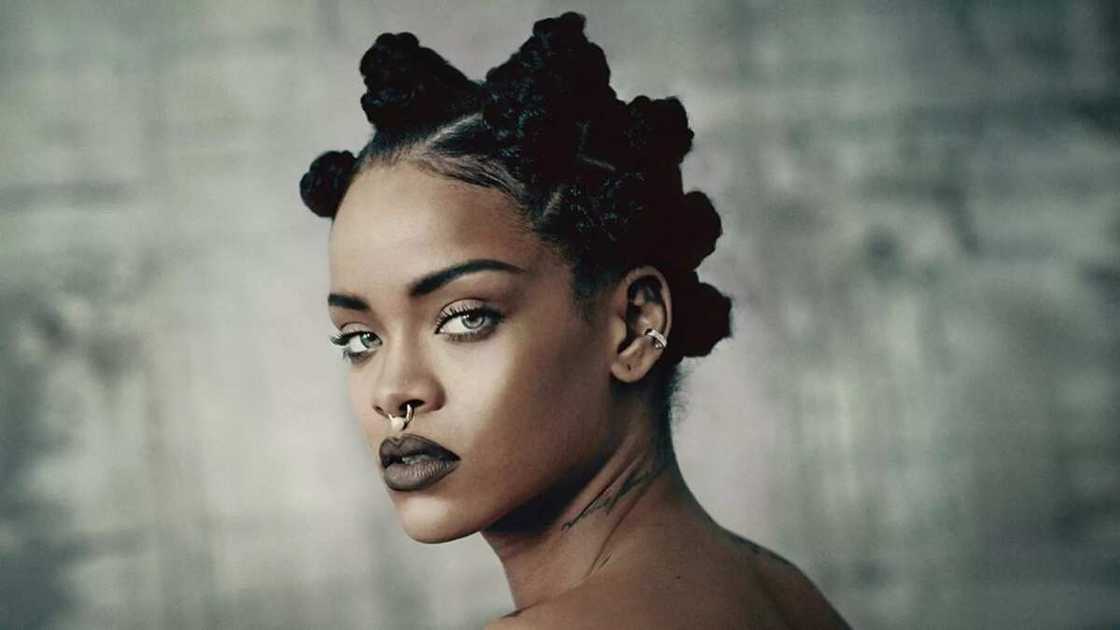
In this article, you will learn how to make Bantu knots with natural hair. Believe us, you would not want to miss the chance to style your hair in an original and edgy way!
Part one: Preparing your hair
- First of all, you have to wash your hair very thoroughly. Keep in mind that Bantu knots will leave a big amount of hair exposed. For this step, you will not need any special hair care products – you can use the regular shampoo that you use all the time for washing your hair.
- If your hair can easily get frizzy, you can use the conditioner for it to prevent the flyaway effect. There are following types of conditioners: rinse-out and leave-in. You are recommended to use the rinse-out one in case your hair easily dries out but does not necessarily get frizzy. Leave-in conditioner is advised when your hair gets both dry and frizzy after washing. In both cases, the conditioner will become an additional protection for your hair, and it will be especially useful for preventing the breaking of your hair strands when you coil and wrap them up in Bantu knots.
- If needed, you should detangle your hair. You can skip this step if your hair does not tangle much. For detangling your hair, you will need a special kind of comb or hairbrush. This process will make your knots shiny and smooth.
- Then, you will have to dry your hair partially. You should keep in mind that many people have different opinions about the hair condition which is most comfortable to work with – wet, dry or damp. However, most hairstyle enthusiasts agree that damp hair will be the best when it comes to knots and knot-out styles. You will experience more difficulties with dry hair, in particular, the knots might not hold very well. Wet hair has a chance to make your knots limp. So, damp hair will be the best solution and a good happy medium.
READ ALSO: Top low cut hairstyles for natural hair
Part two: Shaping the Bantu knots
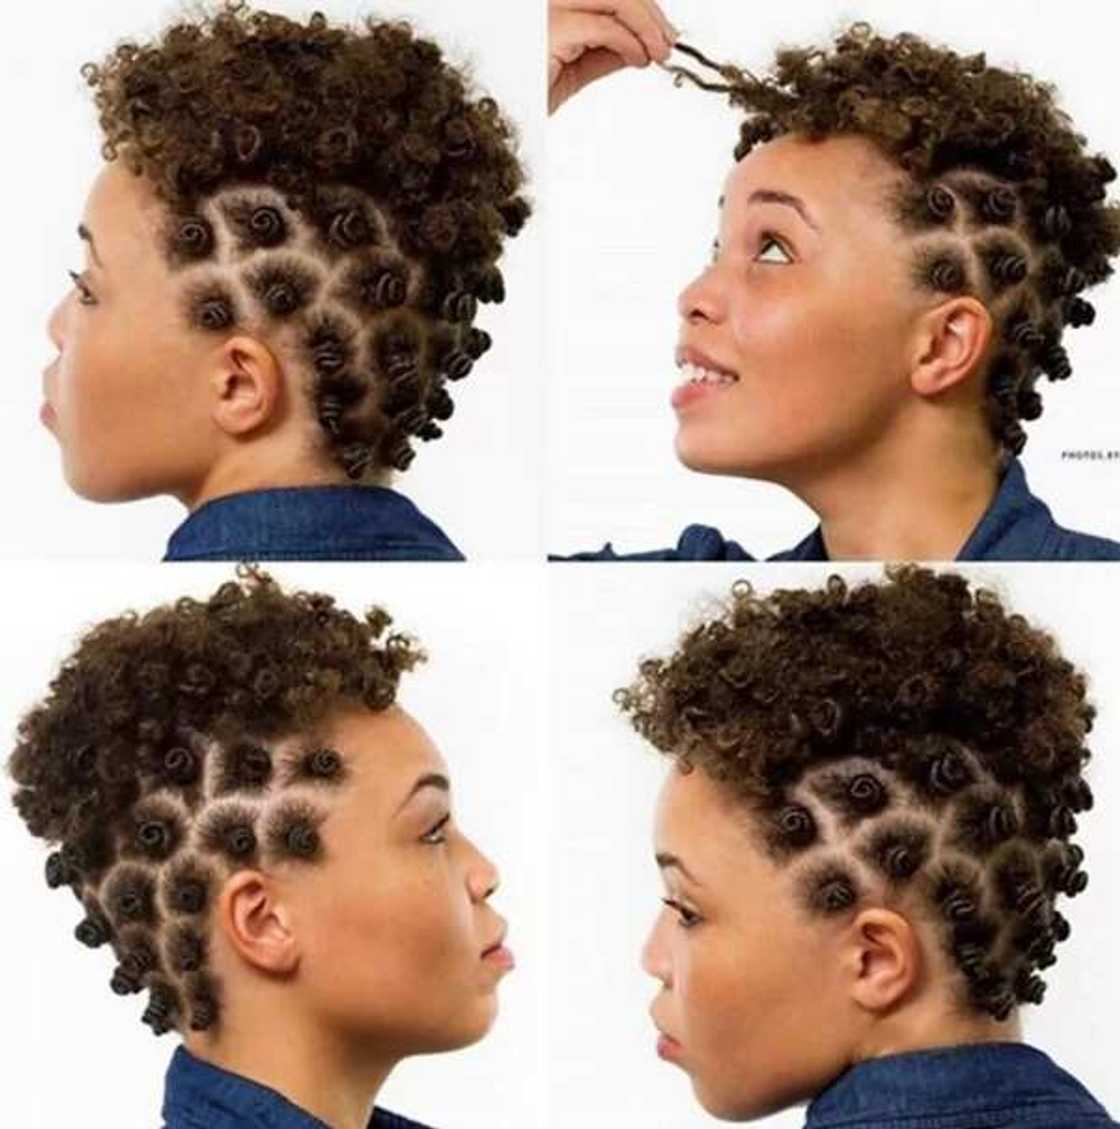
- The first step will be separating your hair into many sections. The width of these sections is various, depending on the length of your hair and the look you are aiming for. Usually, people who have short hair separate their hair into smaller sections, while those whose hair is long can use the large ones. This also depends on whether you are planning to have Bantu knot-outs later. For separating hair into sections, people usually use the rattail comb.
- Afterwards, you should apply the curl cream or something similar. You are advised to use the hair product that has light or medium hold. This is for creating knots which will hold the shape without becoming tough. The hair product has to be used in every section. You should rub some of it on your fingers and then twist it in every section of your hair, starting with roots. The tension has to be kept high for maintaining the shape.
- The next step will be twisting a little coil on the scalp base. Every hair section has to be twisted between fingertips. Be careful and avoid strong and abrupt moves because they might cause breakage of the hair.
- When you have formed your coils, all the remaining hair should be twisted around the particular sections. This way, you will make your hairstyle neater and bring the remaining hairs into order.
- If your coils are tight, you can tuck their ends to hold them in one place. If they feel loose, you are recommended to use hair pins or ponytail holders to help them stay in place. People who have naturally curly hair are lucky because they can tuck the ends of their hair underneath.
- Then, the knotting procedure needs to be repeated on all the sections that remain – all of them have to be twisted in little coils. The remaining hairs have to be wrapped around every coil and pinned or tucked to be kept in place. In case your hair is starting to dry, you can spray it with water to help it remain damp.
- Here you go – you have made a gorgeous Bantu knot hairstyle! The next step is the easiest: just wear them with pride.
Below, you can see some interesting ideas for styling the Bantu knot hair.
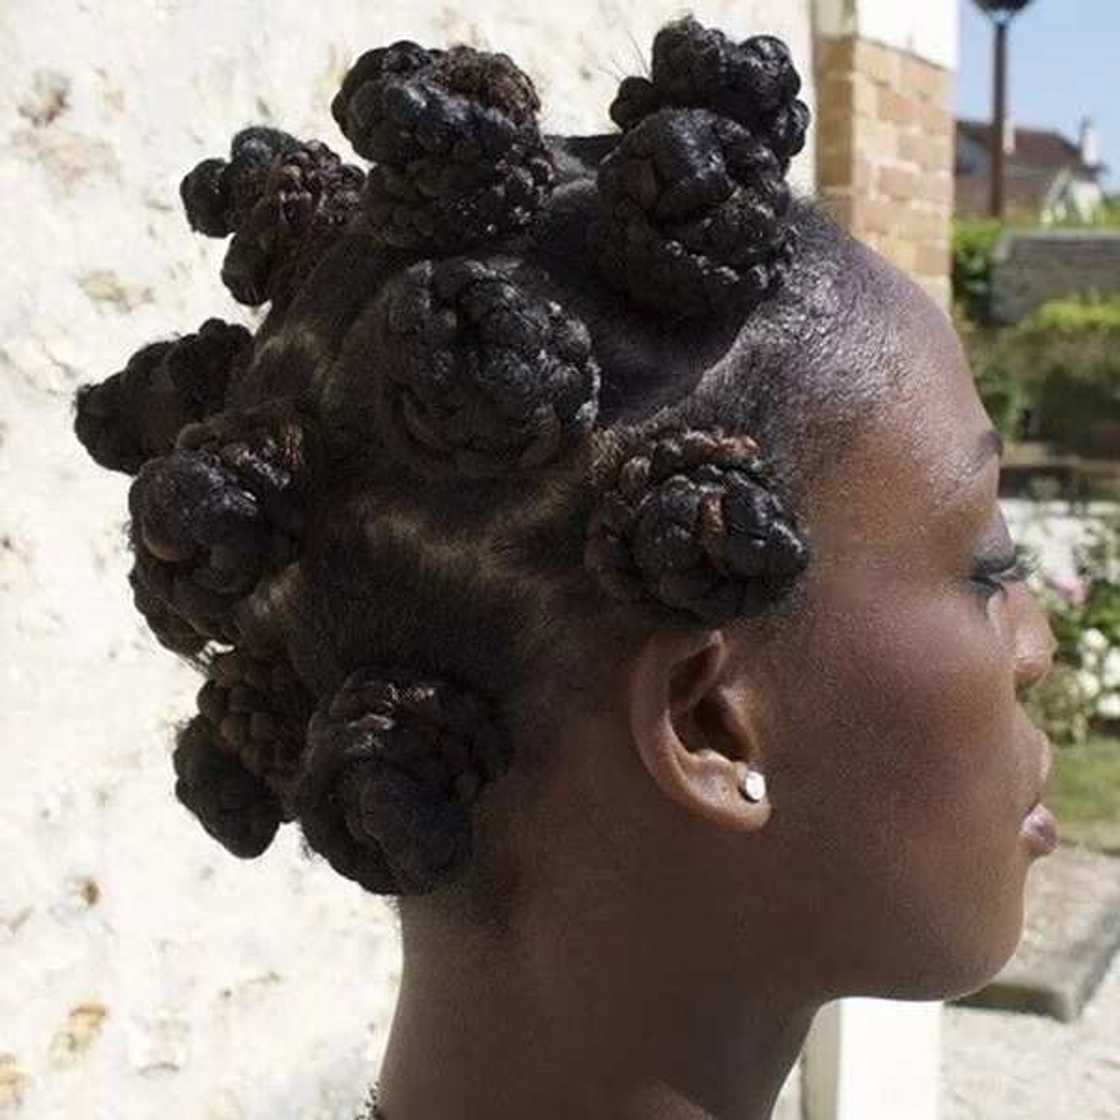
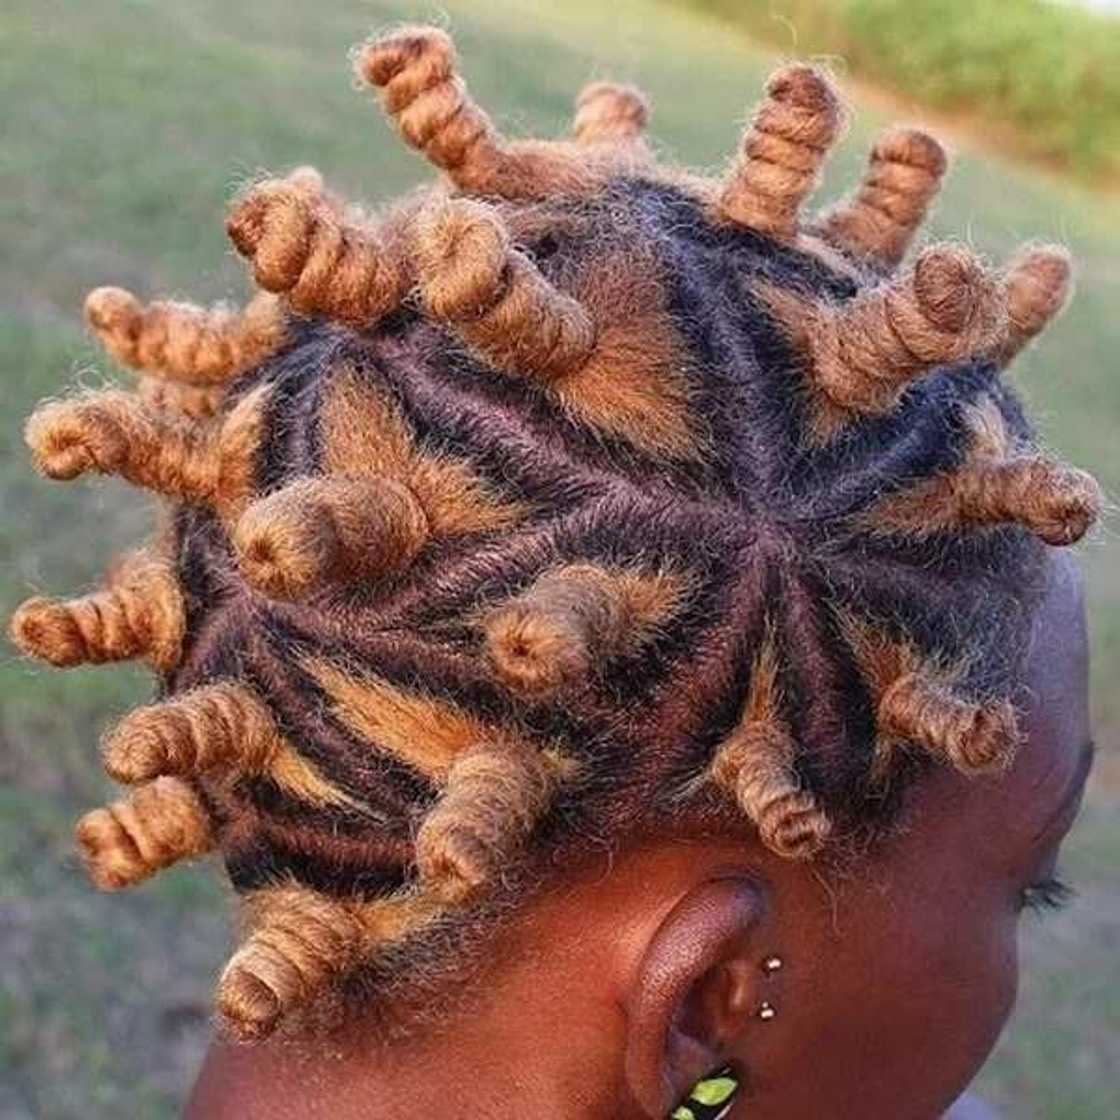
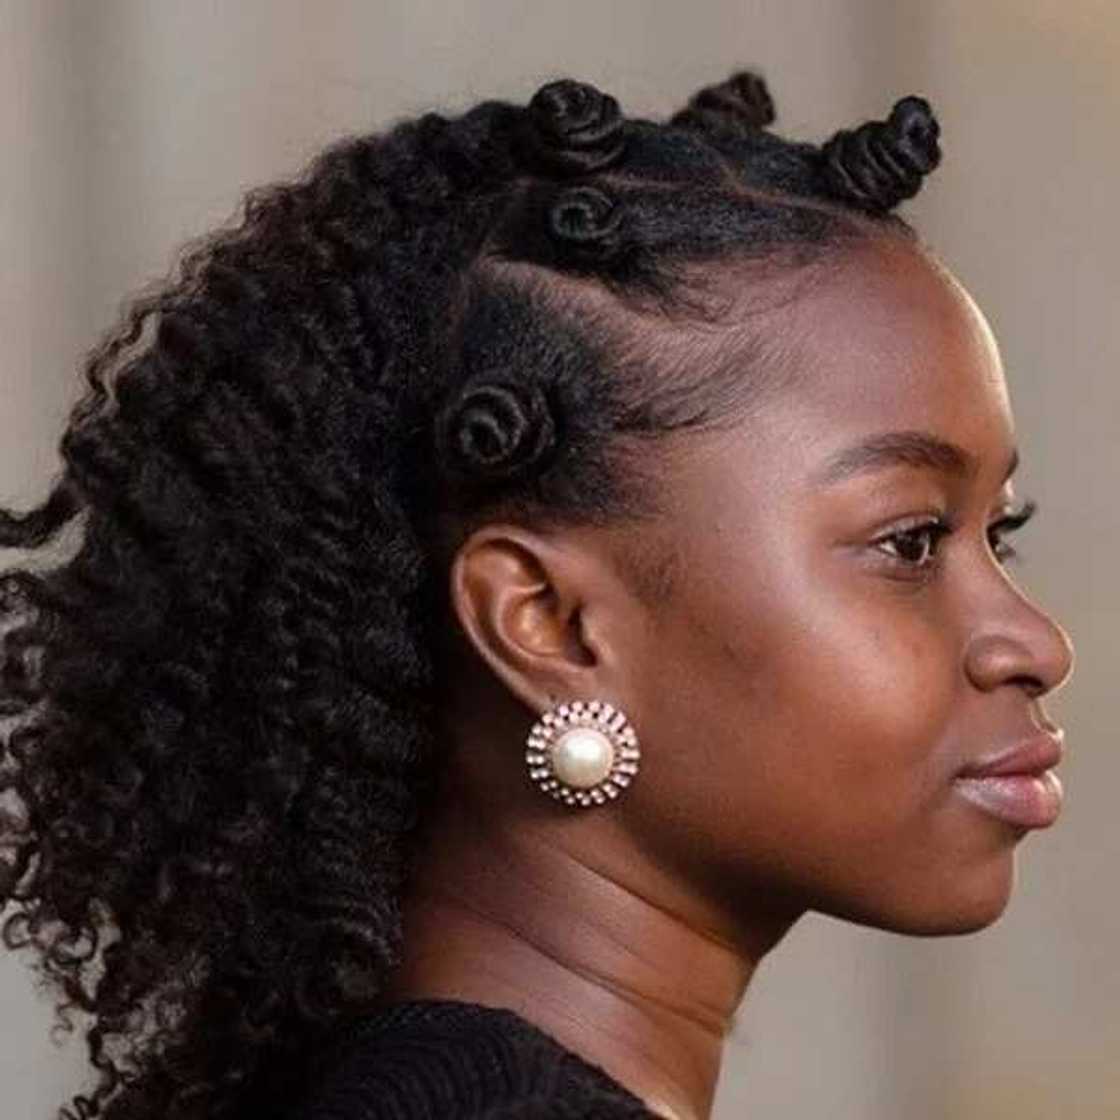
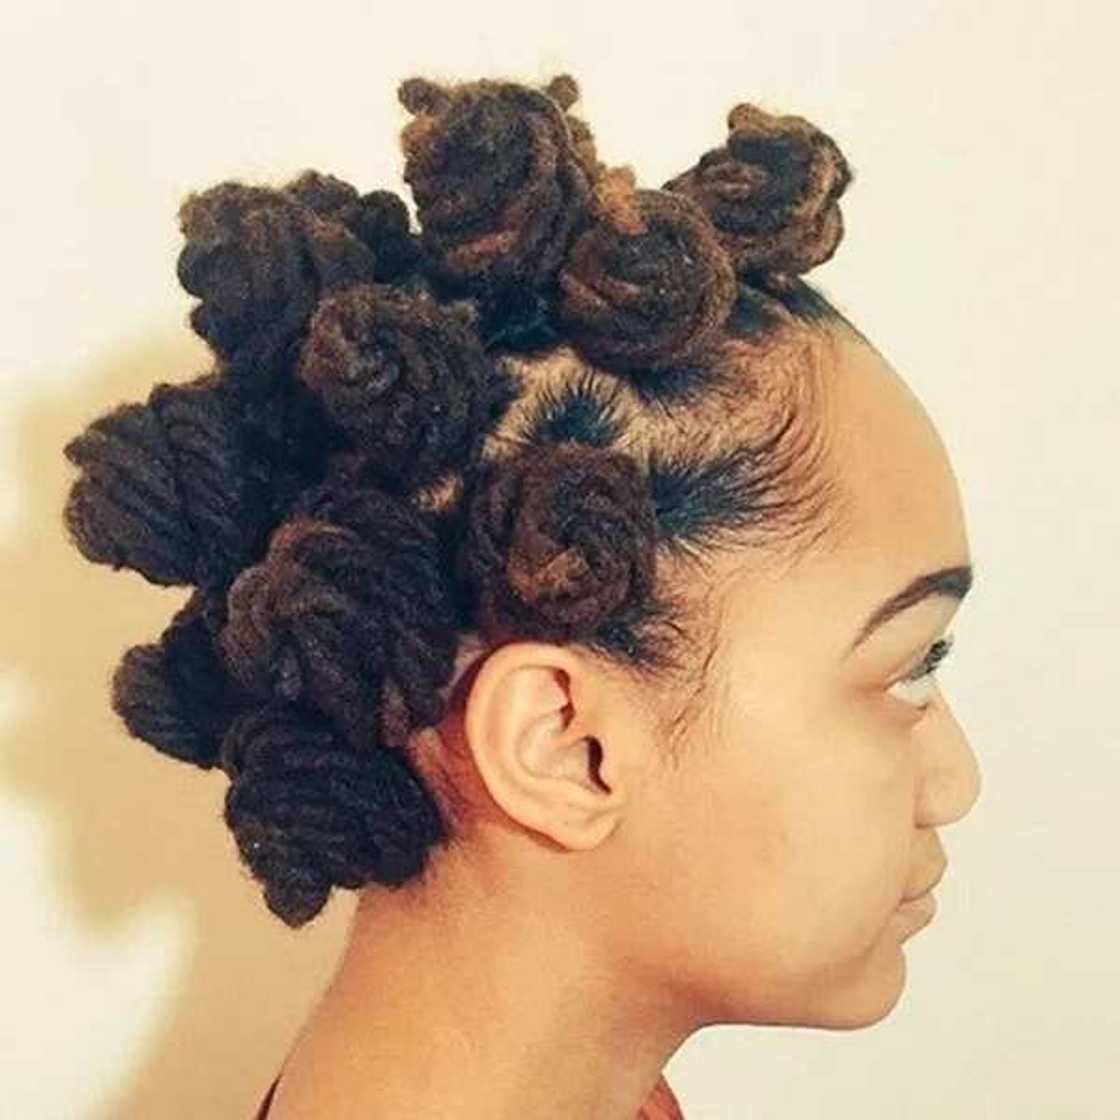

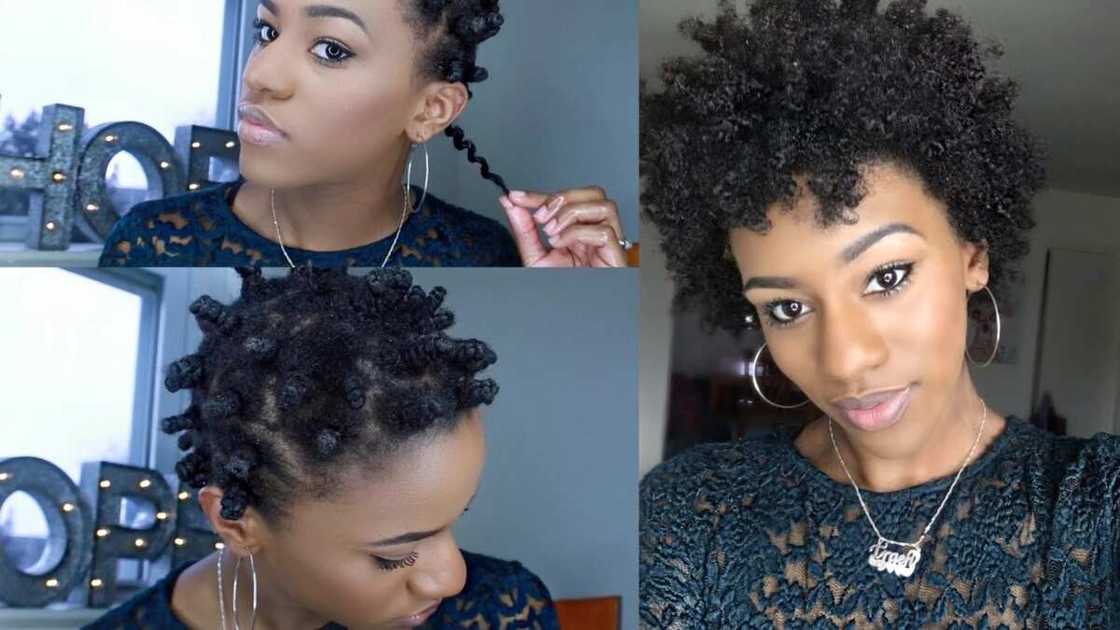
If you are tired of Bantu knots, you can easily do a knot-out. We will show you how to do this hairstyle quickly:
- The first step is to place a shower cap on your hair overnight. The reason why you should do it is simple – it is done for creating a special humid environment for your hair which will help you a lot in styling. The cap creates a so-called greenhouse effect, which allows your hair to dry slowly while it still retains enough moisture that will prevent the hairs from losing shape. When you remove the shower cap, the hair will still be a little damp. Before proceeding, you should continue drying for fifteen minutes.
- The alternate option is drying your hair under the special bonnet dryer. This can be possible if you are in hurry and need to style your hair quickly. Bonnet dryer will keep your hair under the heat for thirty minutes to one hour.
- Then, you will have to unwrap every coil carefully. In most cases, the hair will curl itself. You are advised to use a hair care oil or special serum that prevents humidity while you are working with hair. It prevents your hair from becoming frizzy.
- Then, the twisted hair strands have to be loosened gradually and separated from each other with your fingers. Do not forget to use hair care products to minimize frizziness. Instead of fingers, you can also try doing it with a comb. Try not to pull your hair too much – always handle it gently.
- If necessary, you should spray your hair with a hairspray or special oil. It will revitalize your hair and add a healthy shine to it.
- To preserve your curly hair as long as possible (usually for one-two weeks if you also use astringents), you should pin your hair up at night and wrap up the sides of the hair with a scarf or other wrapping cloth. In the morning, you should restyle it.
You have to bear in mind that doing Bantu knots every day is not good for your hair because it can quickly become oily or cause easier breakage. You should wait at least for a few days to give your hair a rest before doing another Bantu knot hairstyle. The perfect solution would be making knots only on special occasions when you really need your hair to look originally.
Hopefully, the article about making Bantu knots and knot-outs with natural hair was helpful for you. Shine bright and stay gorgeous!
READ ALSO: How to style short box braids: Step-by-step guide
Source: Legit.ng


