How to cut a pencil skirt for sewing
Properly chosen basic elements of your outfits like a pencil skirt can help you create a very feminine, attractive, and elegant look. A pencil skirt with a high waist is one of such basic elements that goes perfectly well with everything. Its cut and style matches any body type, attract attention and can even hide drawbacks. Want to wear a specially designed thing? Learn how to cut and sew pencil skirt by yourself.

The place of a pencil skirt in your wardrobe
The skirt has received its name due to the cut that gets narrow closer to the knees. Classic pencil skirts cover the knees completely but now there are much shorter versions that simply lie very close to your hips. It’s up to you to choose what you like better but you need to remember that the tight cut can accentuate things you would not like to emphasize. Keeping this in mind, choose high waisted skirts that match your body type, height, and the length of your legs.
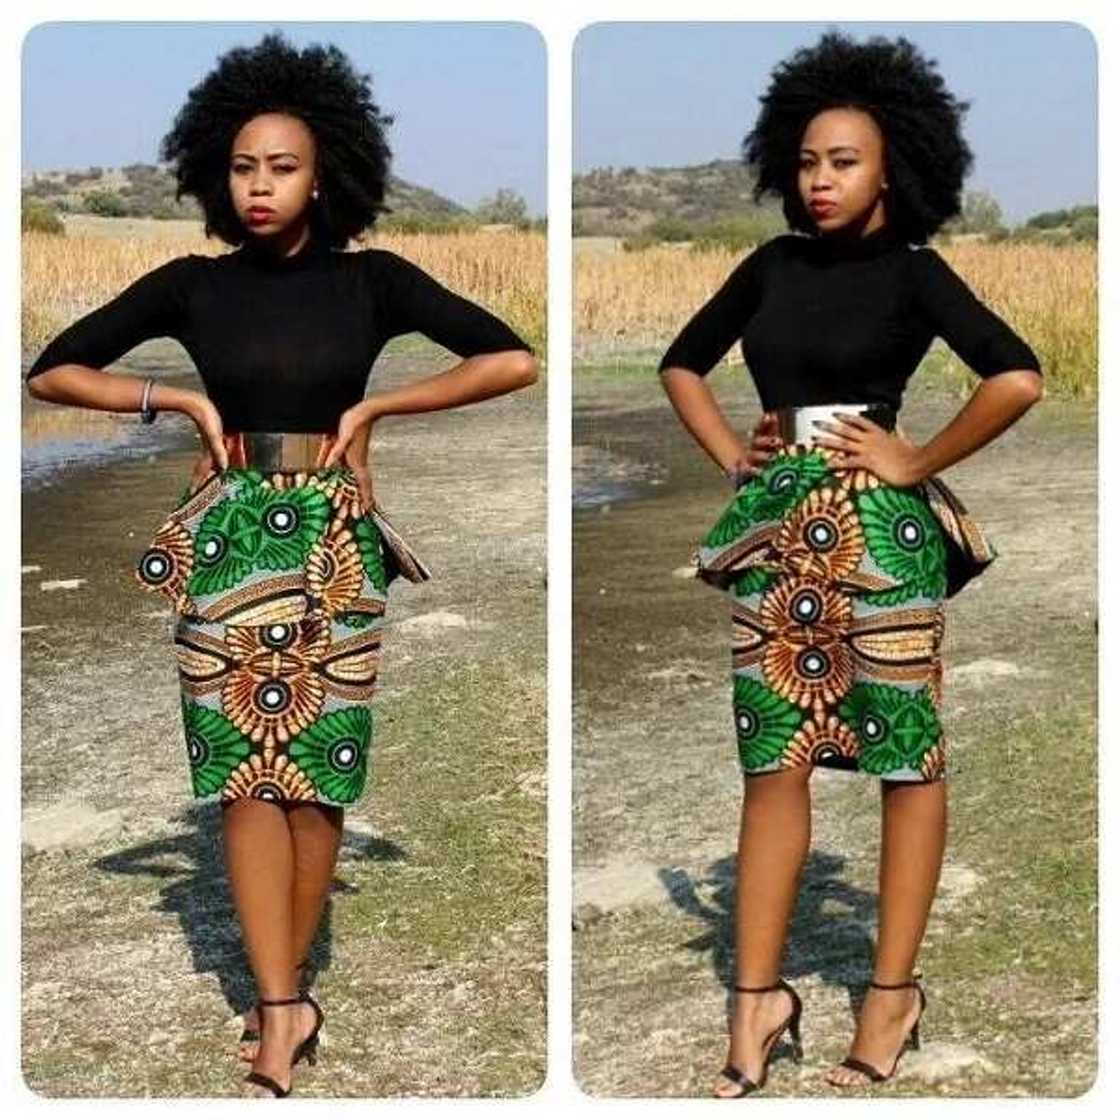
READ ALSO: Short and long Ankara peplum dresses 2017-2018
Matched with different tops, such a skirt can be suitable for work, parties, or a simple walk with your friend. Some women are sure that such skirts should necessarily be worn with high heels but it’s a mistake. A pencil skirt worn with a casual top can be easily matched with sneakers or slip-ons, sandals or tall boots. You should remember: tops that are worn with pencil skirts must be tucked into the skirt to emphasize the waistline. This is why, when cutting and sewing such a skirt, you should foresee and make a good belt.
How to cut a pencil skirt

If you have at least once tried sewing simple parts of clothing, for you, it will not be a question how to cut and sew a pencil skirt. The most complicated thing in the process is not the sewing itself but taking measures. It’s very important to do everything correctly in order to create a proper shape that will accentuate your individual beauty and hide possible drawbacks.
During this step, you will need a tape measure, suitable paper, a pencil.
When taking measures in order to create a pattern, remember the following things:
- Waist is measured closely to the body
- Hips are measured in the widest part
- The length of the item is measured in the front, side, and rear parts, from the waistline in the direction of the floor
- The length of the item is measured individually, depending on the height (the average length is about 75cm but it can be too short or too long for different women)
When all measures are taken, it’s necessary to build a pattern. You need to get several big pieces of paper, construct a grid out of vertical and horizontal lines. The vertical lines represent the side seams while the horizontal ones show the width of the waist and hips and the bottom edge of the skirt. Transmit the actual sizes to the paper and draw a pattern. Then, build the second contour outside the first one, at the distance of 1 – 1.5cm. This is necessary for the seams. Don’t forget about the high waist, which means additional 4 to 5cm. In order to make the skirt have a proper shape, don’t forget to narrow it down closer to the bottom edge of the skirt.
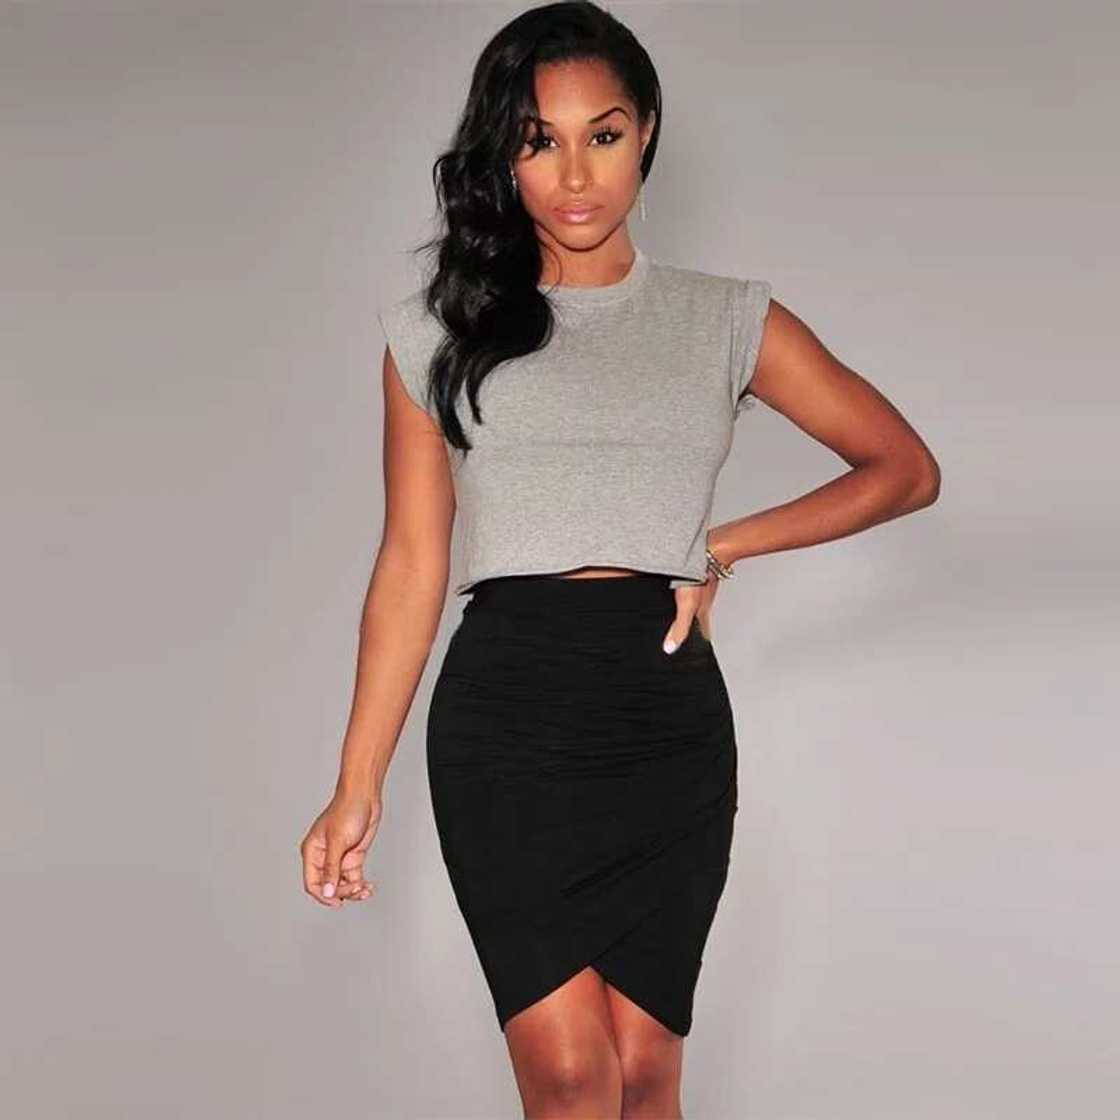
Now, when the patterns are ready, you can start cutting the fabric. It’s necessary to say a couple of words about the most suitable fabrics for pencil skirts. As soon as the cut is tight and the skirt is supposed to fit snugly, it’s necessary to choose a fabric that contains elastic fibers, the more the better. You are free to choose any fabric to your liking, starting with velvet and ending with faux leather but you should remember that some materials require special skills to work with them and if you are not an experienced tailor, it’s better to start with something less complicated.
If you have fabric that’s 1.4 or 1.5m wide, you will need exactly the length of the ready item plus several centimeters for folding over. The same goes for the lining in case you need one. The fabric for the lining should be very fine and, at best, not prone to the development of static electricity.
Decide at once whether you want to have pockets in your skirt (they add complexity to the sewing process), whether you need the lining (it means that you will have to sew two skirts, literally), and be ready to work on a spline and tucks.
How to cut and sew a high waist pencil skirt: a step by step guide

Now, you will need the following: pins, sharp sewing scissors, thin needles, thread for stitching parts together, and a zipper. Of course, it’s necessary to have a sewing machine to create such a skirt.
- Cut the patterns out of the paper accurately, exactly along the drawn lines and spread them on the fabric (inner side of the fabric). Fasten the paper parts to the fabric with the help of small pins.
- Make sure you have located the paper details on the fabric closely to each other in order to save material and draw the contour of the paper details on the fabric accurately with the help of special chalk.
- Remove the paper and accurately cut the parts out of the fabric with the help of sharp scissors.(If you have decided to create the lining, you will need to cut the same details out of the lining material. Remember that the lining should be 2cm shorter than the skirt itself).
- Using the tape, measure the allowances and carry them over to the spline. Leave about 17cm in the rear part where you will need to insert the zipper.
- Stitch the parts together with hands first and then with a sewing machine then iron the seams flat.
- Create the tucks, hide the knots inside the tucks accurately.
- Overlock all the edges of the fabric. (If you have decided to create the lining, you will need to stitch the parts together with hands just as you’ve done with the skirt itself. Then, pin the lining to the inner part of the skirt, check, whether it’s not too tight, cut off the extra fabric, and stitch the lining with a machine. Overlock all the free edges of the fabric).
- Stitch together all the parts of the skirt.
- Cut the wide belt that will create the high waistline. As a rule, skirt belts are 4 to 5cm wide. You can double the size.
- Cut two similar pieces of the belt part out of the skirt fabric, and one more out of interfacing fabric. Put it between the first two pieces and stitch them together.
- Stitch the belt to the skirt, leaving an opening for the zipper.
- Stitch in the zipper carefully, always making sure that the lining creates no creases. Sew the skirt with the help of the machine.
- Overlock all the free edges, fold the bottom edge of the skirt and sew accurately with the help of the machine.
- Iron the skirt carefully in order to keep all the seams flat and accurate.
Now you know how to own a thing that’s tailored exactly to your requirements, liking, and body shape. It seems quite difficult but with some attention to details and accuracy, everything will be great even if you have no big sewing experience.
How to sew a skirt for beginners
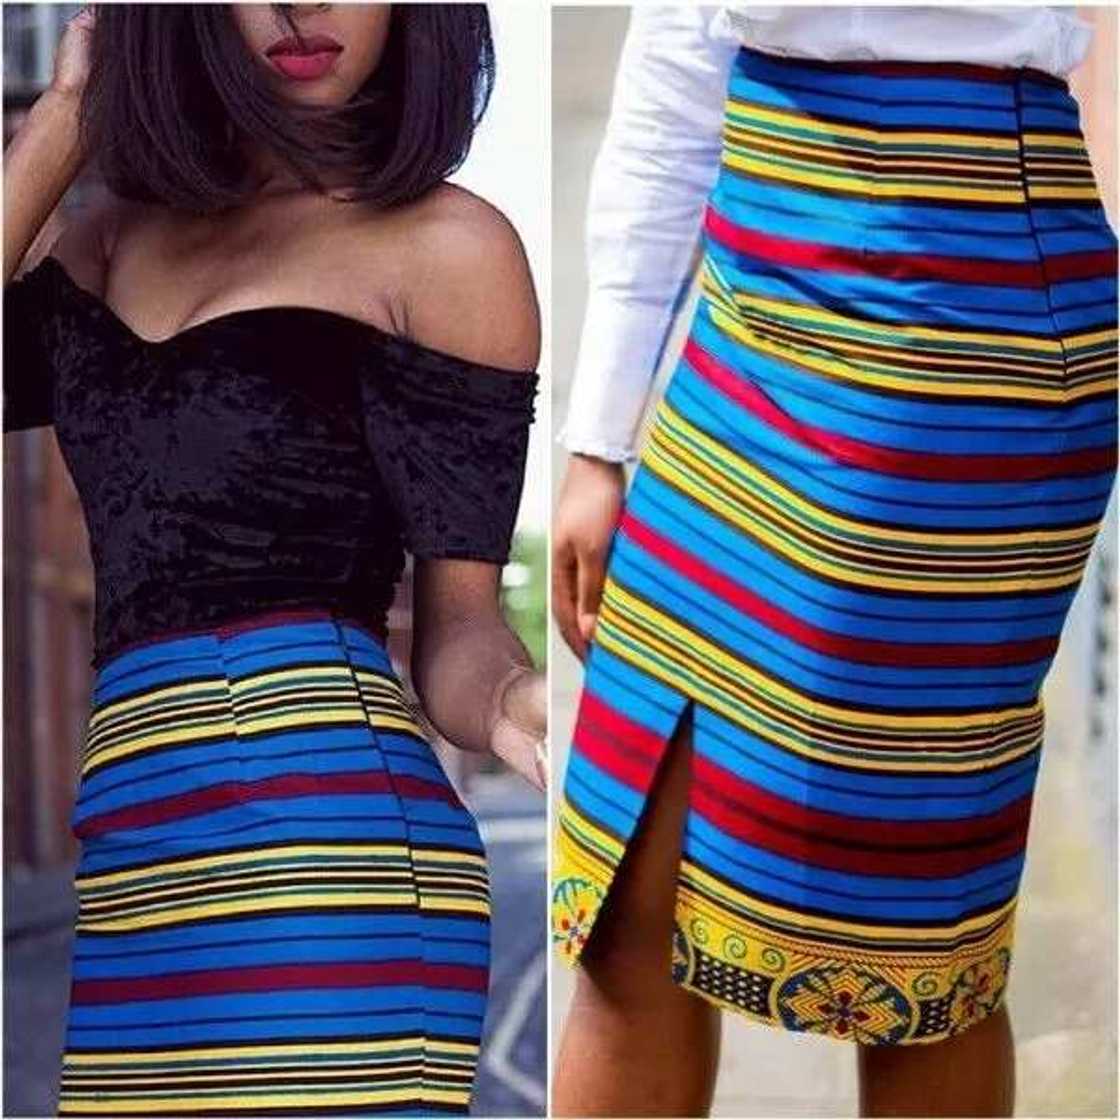
If you are afraid of spoiling something or in case working on tucks and spline seems to be too complicated, try to sew a pencil skirt out of elastic fabric that requires no special seams to create a shape. In such a case, you will need to cut two pieces of the elastic fabric that match your waist and hip size and narrow down to the bottom edge. Such a skirt requires no lining, and it makes the process even simpler. You will also need no zipper but a piece of elastic band to insert into the belt part.
It’s also possible to sew a pencil skirt completely without patterns, as the video below shows. Choose whatever method you prefer and be stylish!
READ ALSO: 33 best fashion styles of 2017 for ladies
Source: Legit.ng


